 Save
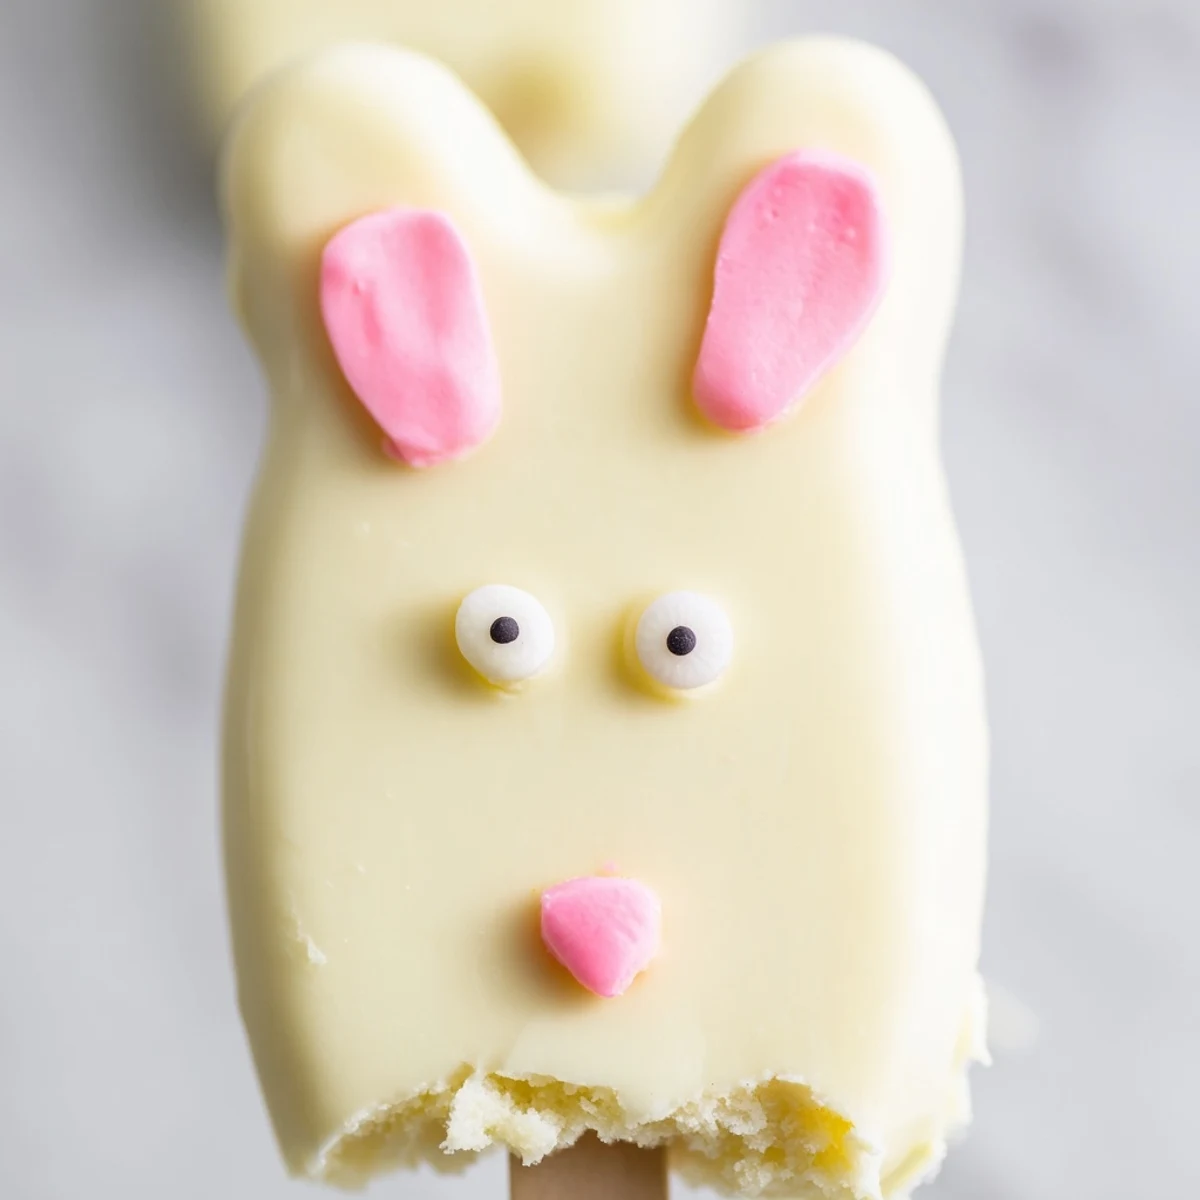
Save These delightful bunny-shaped treats combine moist vanilla cake crumbs with cream cheese and butter, creating a perfectly smooth dough that holds its shape. Each mixture is formed into adorable bunny faces, inserted with sticks, and chilled until firm. The cakesicles are then dipped in melted white chocolate for a creamy, sweet coating that sets beautifully. Decorate with candy eyes, sprinkles, and fondant ears to bring these festive characters to life. The combination of crumbly cake, rich cream cheese, and smooth white chocolate creates a perfectly balanced treat that's both fun to make and eat.
My niece wanted to help me make something special for Easter last year, and when I suggested bunny cakesicles, her eyes lit up like I'd just announced a visit from the Easter Bunny himself. We ended up with flour in our hair, chocolate smudged on our cheeks, and the most adorable lopsided bunnies you've ever seen. Now it's become our annual tradition, and honestly, I look forward to our messy kitchen afternoon more than any fancy holiday dinner.
Last year, I made these for my daughter's classroom Easter party and sent them in with little carrot goodie bags. The teacher sent me a photo of all the kids holding their bunny cakesicles like trophies, chocolate mustaches and grins everywhere. Sometimes the best recipes aren't the ones that win baking contests, they're the ones that make twenty first graders feel like they won the lottery.
Ingredients
- 1 cup vanilla cake crumbs: I've learned that slightly stale cake works better than fresh, and don't be afraid to mix different cake flavors together for fun variations
- 2 tbsp cream cheese: This acts as the magical binder that holds everything together, so make sure it's properly softened for easy mixing
- 1 tbsp unsalted butter: Room temperature butter helps create that perfect dough-like consistency that won't fall apart when you dip it
- 2 tbsp powdered sugar: This adds just enough sweetness to balance the cream cheese without making the mixture too sweet
- 1/2 tsp vanilla extract: Pure vanilla makes a noticeable difference here, and don't be tempted to skip it
- 10 oz white chocolate: High-quality white chocolate melts smoother and tastes infinitely better than the cheap stuff
- Edible gel food coloring: Gel colors work so much better than liquid for the detailed decorating, and a little goes a long way
- 8 cakesicle sticks: Dip the very ends of the sticks in melted chocolate before inserting them into the cake balls for extra security
Instructions
- Mix your cake base:
- Combine the cake crumbs, cream cheese, butter, powdered sugar, and vanilla in a medium bowl, mixing with clean hands until it holds together like soft dough
- Shape the bunnies:
- Divide the mixture into 8 portions and gently flatten each into an oval shape, pressing gently with your palms to keep them uniform
- Prep the sticks:
- Dip about 1/2 inch of each stick into melted chocolate, then insert into the bottom center of each bunny shape
- Chill thoroughly:
- Refrigerate the shaped bunnies for at least 20-30 minutes until firm to the touch, because cold cake pops are much easier to coat
- Melt the chocolate:
- Heat your white chocolate in 30-second intervals, stirring between each, until completely smooth and fluid
- Dip and decorate:
- Hold each cakesicle by the stick and dip it into the chocolate, tapping gently against the bowl edge to remove excess coating
- Add the bunny faces:
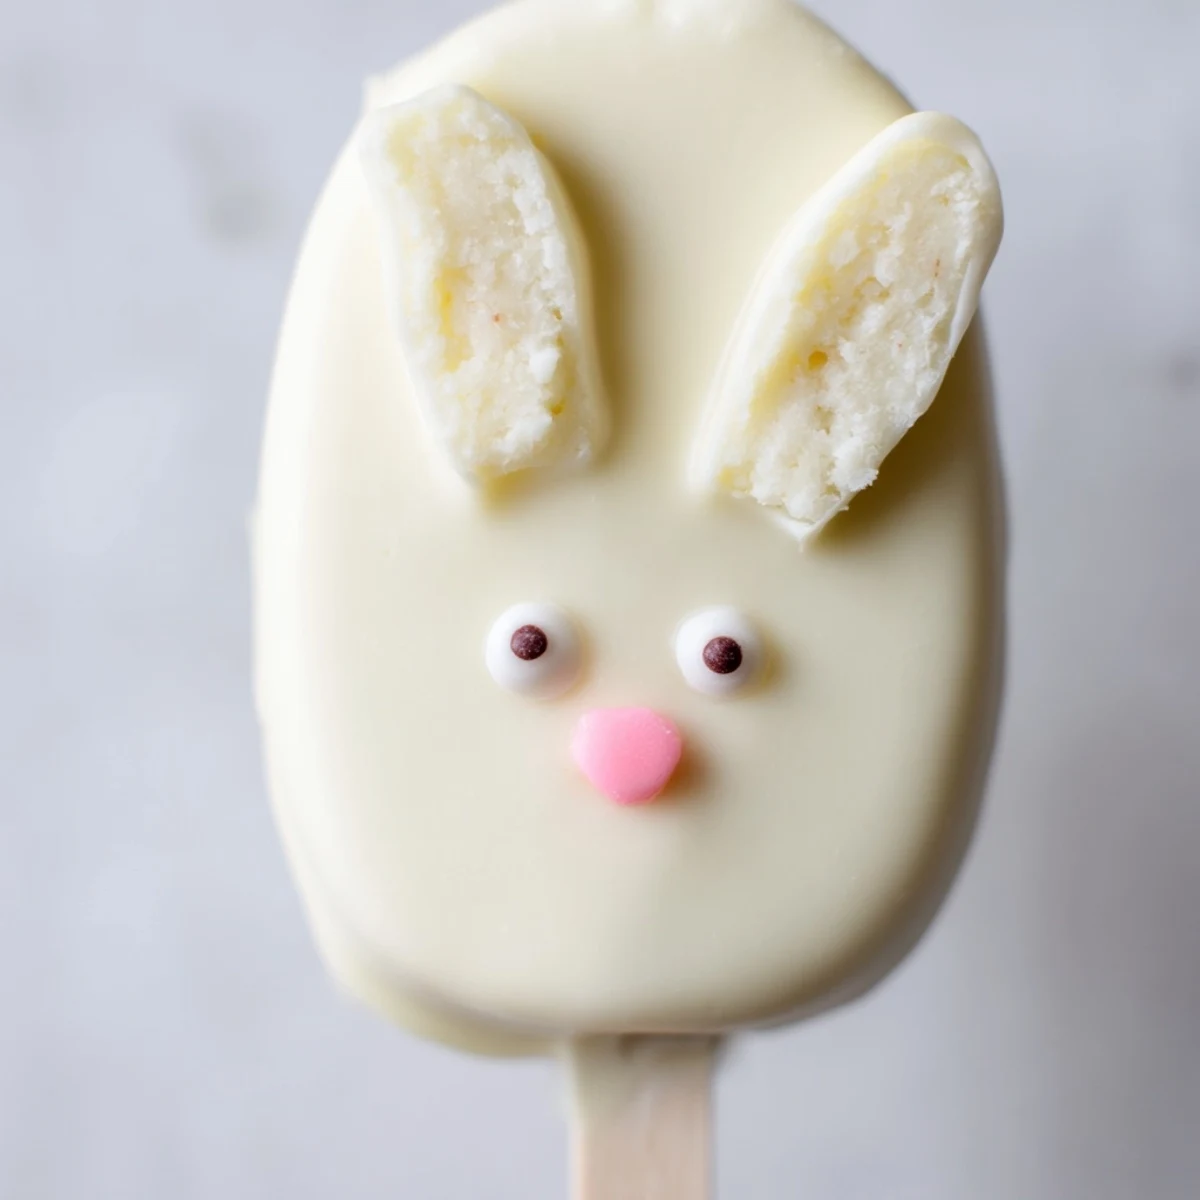
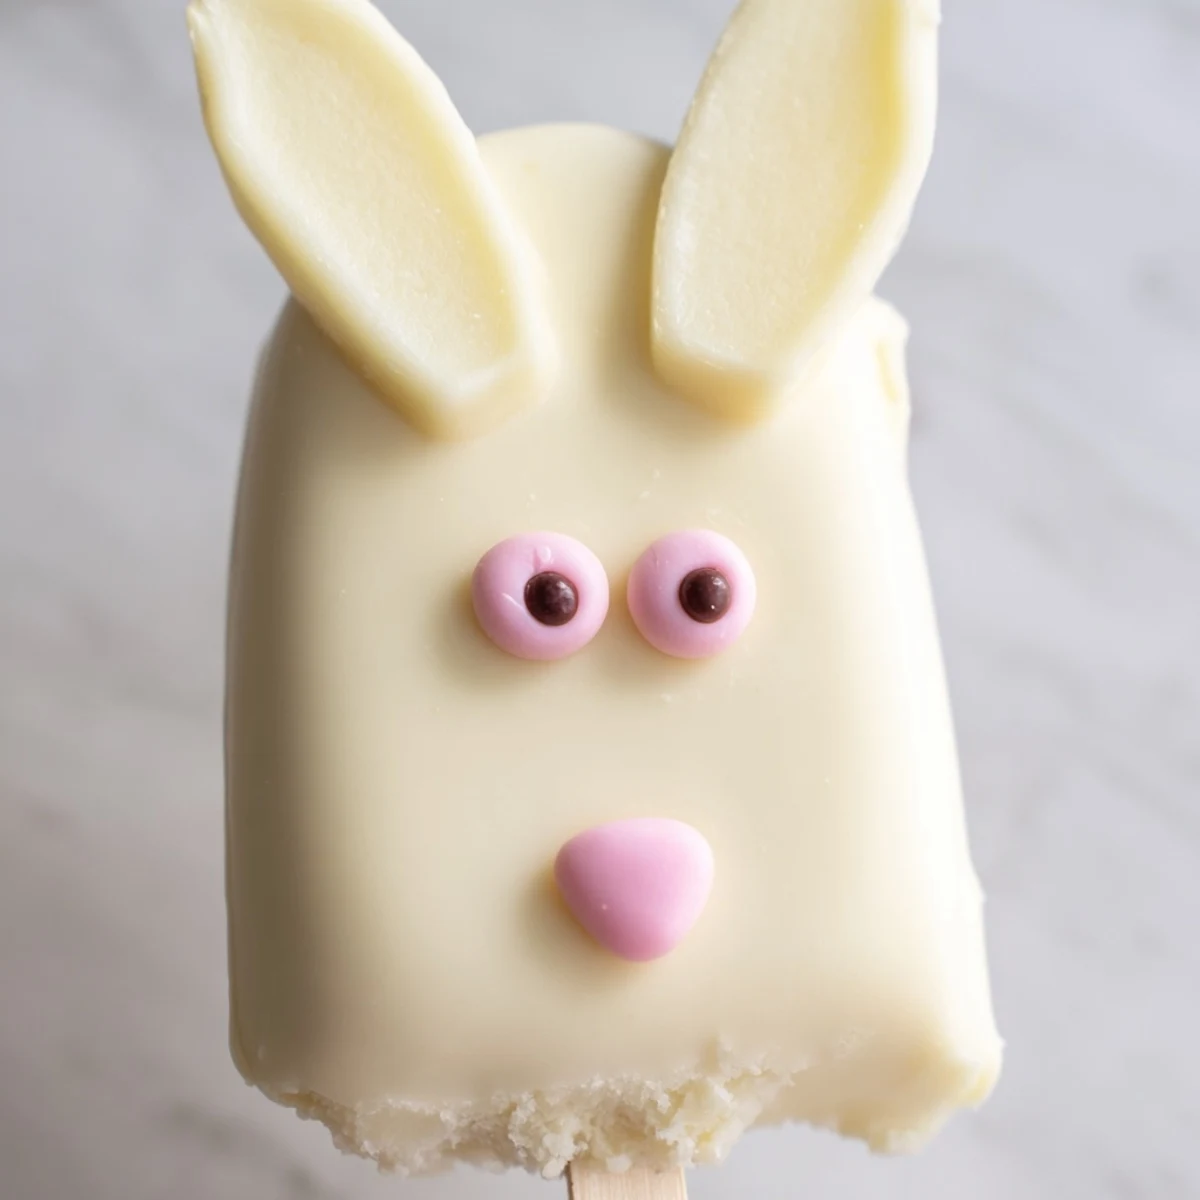
- While the chocolate is still wet, immediately add candy eyes, pink sprinkle noses, and any other decorations before it sets
- Set and serve:
- Let the cakesicles firm up at room temperature for about 30 minutes, or speed things up with 10 minutes in the refrigerator
 Save
Save My mom always said that the best Easter treats are the ones that make you smile before you even take a bite, and these bunnies absolutely deliver on that promise. I've started making extra just to give to neighbors, because who wouldn't want an unexpected chocolate bunny delivery on their doorstep?
Getting That Perfect Coating
The secret to smooth white chocolate coating is temperature, both of the chocolate itself and of your cake centers. If the chocolate is too hot, it will slide right off instead of forming that nice shell. I learned this the hard way with my first batch of cake pops, which ended up with bald spots where the coating just refused to stick.
Decoration Ideas That Work
Simple candy eyes and pink sprinkle noses are classic, but I've also made bunnies with flower crown decorations using colorful sprinkles. One year we made each family member their own unique bunny with different expressions, which somehow turned into a weirdly accurate personality test for everyone at our Easter gathering.
Storage And Make Ahead Tips
You can make the cake centers up to two days ahead and keep them tightly wrapped in the refrigerator. Just bring them to room temperature for about 15 minutes before dipping, as frozen cake balls can cause the chocolate to crack. I once tried to speed things up and ended up with distressed looking bunnies with chocolate fissures running through their faces.
- Place finished cakesicles in individual clear treat bags tied with pastel ribbons for easy gifting
- If humidity is high, let the chocolate set in the refrigerator to prevent that sticky bloom
- Keep them away from direct sunlight or heat sources, or your adorable bunnies will become sad puddles
 Save
Save These bunny cakesicles have become such a beloved part of our Easter traditions that I can't imagine the holiday without them anymore. Hope they bring as much joy to your celebrations as they've brought to ours.
Recipe FAQs
- → How long do white chocolate bunny cakesicles stay fresh?
-
Store your cakesicles in an airtight container in the refrigerator for up to 3 days. The white chocolate coating helps maintain freshness, while the chilled texture keeps the cake filling firm and enjoyable.
- → Can I use different cake flavors besides vanilla?
-
Absolutely! Chocolate, lemon, red velvet, or funfetti cake crumbs work wonderfully. The cream cheese mixture binds any cake flavor perfectly, allowing you to customize these treats to your preference.
- → What's the best way to melt white chocolate for coating?
-
Melt white chocolate in a microwave-safe bowl using 30-second intervals, stirring thoroughly between each session. This prevents overheating and seizing. The chocolate should be smooth and fluid for even dipping.
- → Do I need a special mold to make bunny cakesicles?
-
While cakesicle molds create uniform shapes, they're not essential. You can hand-shape the dough into bunny faces or flattened ovals. The stick insertion works well either way, though molds provide consistent sizing.
- → Can I make these ahead of time for Easter?
-
Yes! Prepare the cake mixture and shape the bunnies up to 2 days in advance. Keep them refrigerated until ready to dip and decorate. The dipped cakesicles can be stored for 3 days, making them perfect for prep-ahead treats.
- → What decorations work best for bunny faces?
-
Candy eyes, sprinkles, and fondant create adorable faces. Pink and yellow food coloring gels add cute details to noses and ears. Pretzel sticks or modeling chocolate make excellent structural elements for ears.