 Save
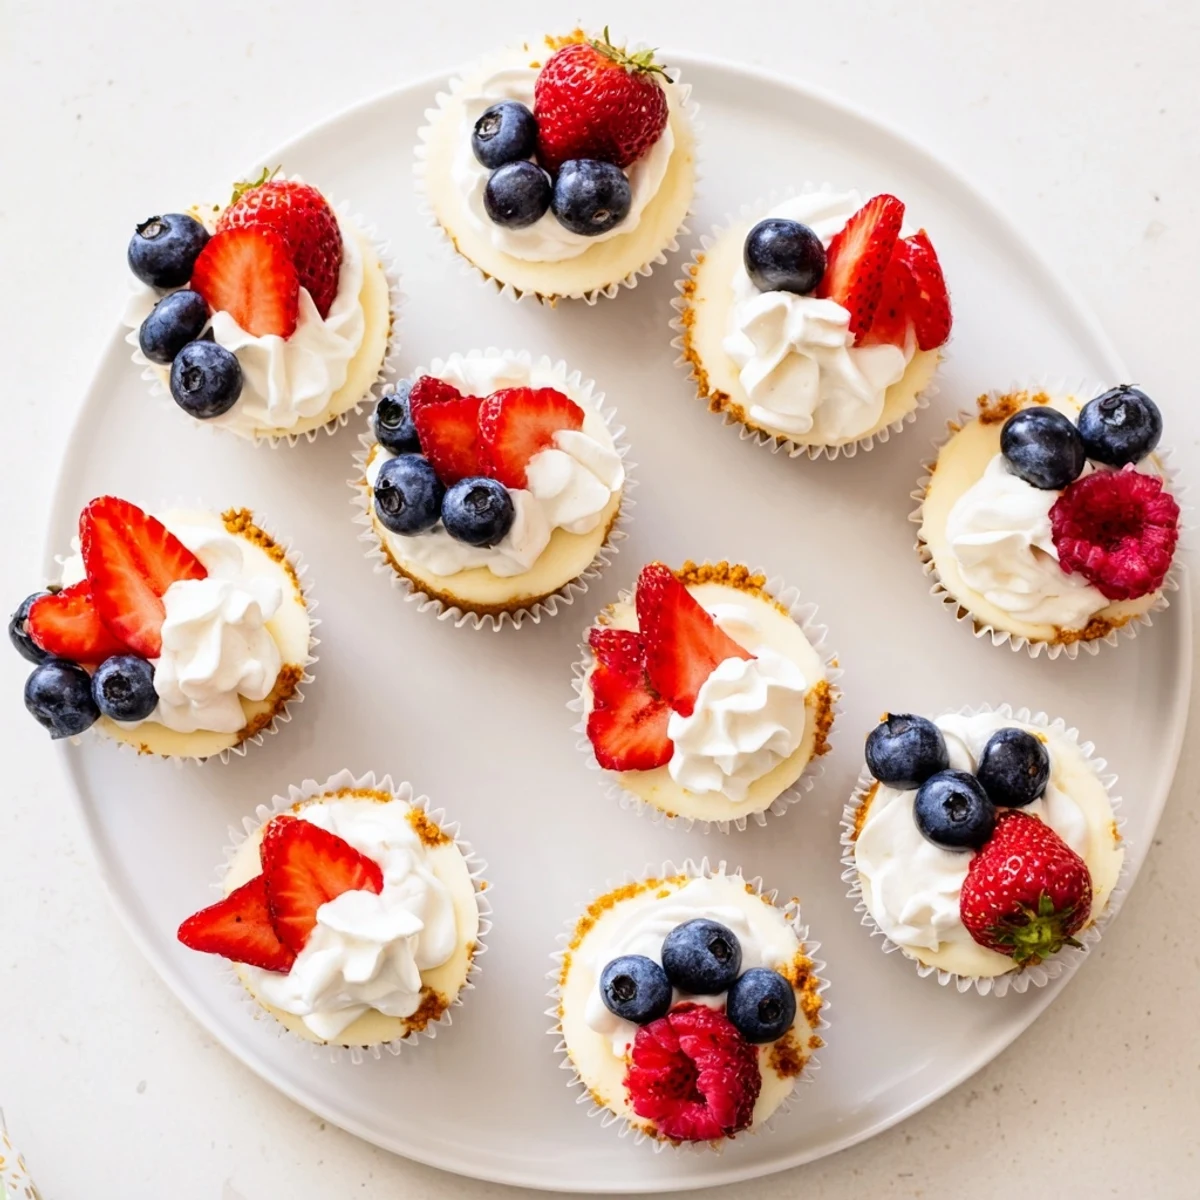
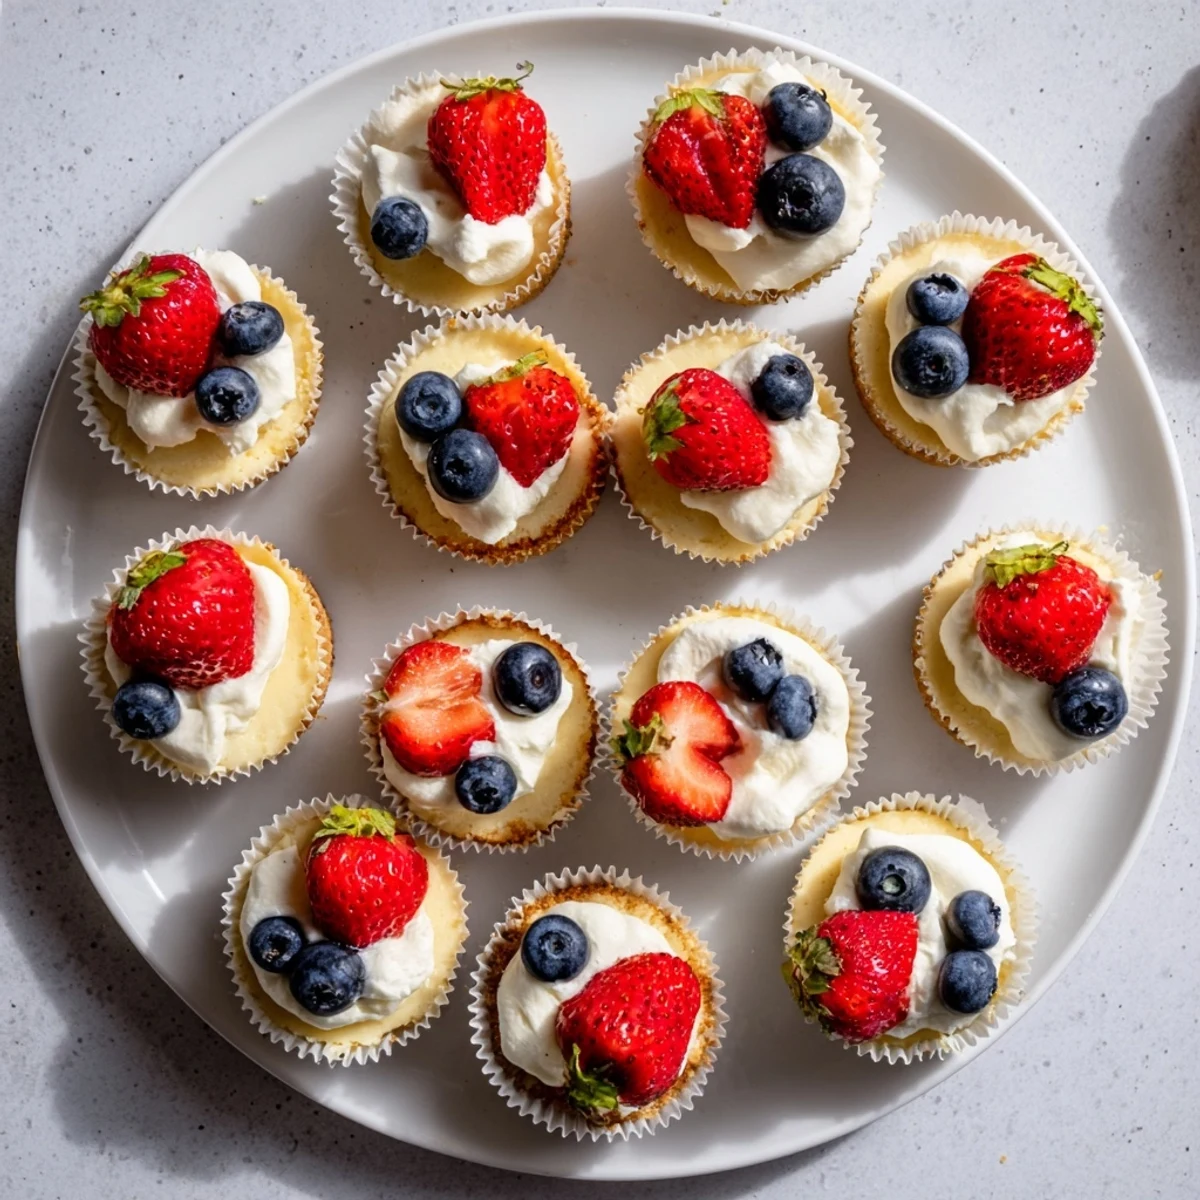
Save These bite-sized treats combine a smooth, tangy cream cheese filling with the sweet crunch of vanilla wafer cookies. Each individual portion features a buttery cookie crust that perfectly complements the rich, velvety cheesecake topping.
The preparation comes together quickly—simply press a vanilla wafer into each muffin cup, whip up the creamy filling, and bake until just set. The result is a handheld dessert that's elegant enough for entertaining yet casual enough for everyday enjoyment.
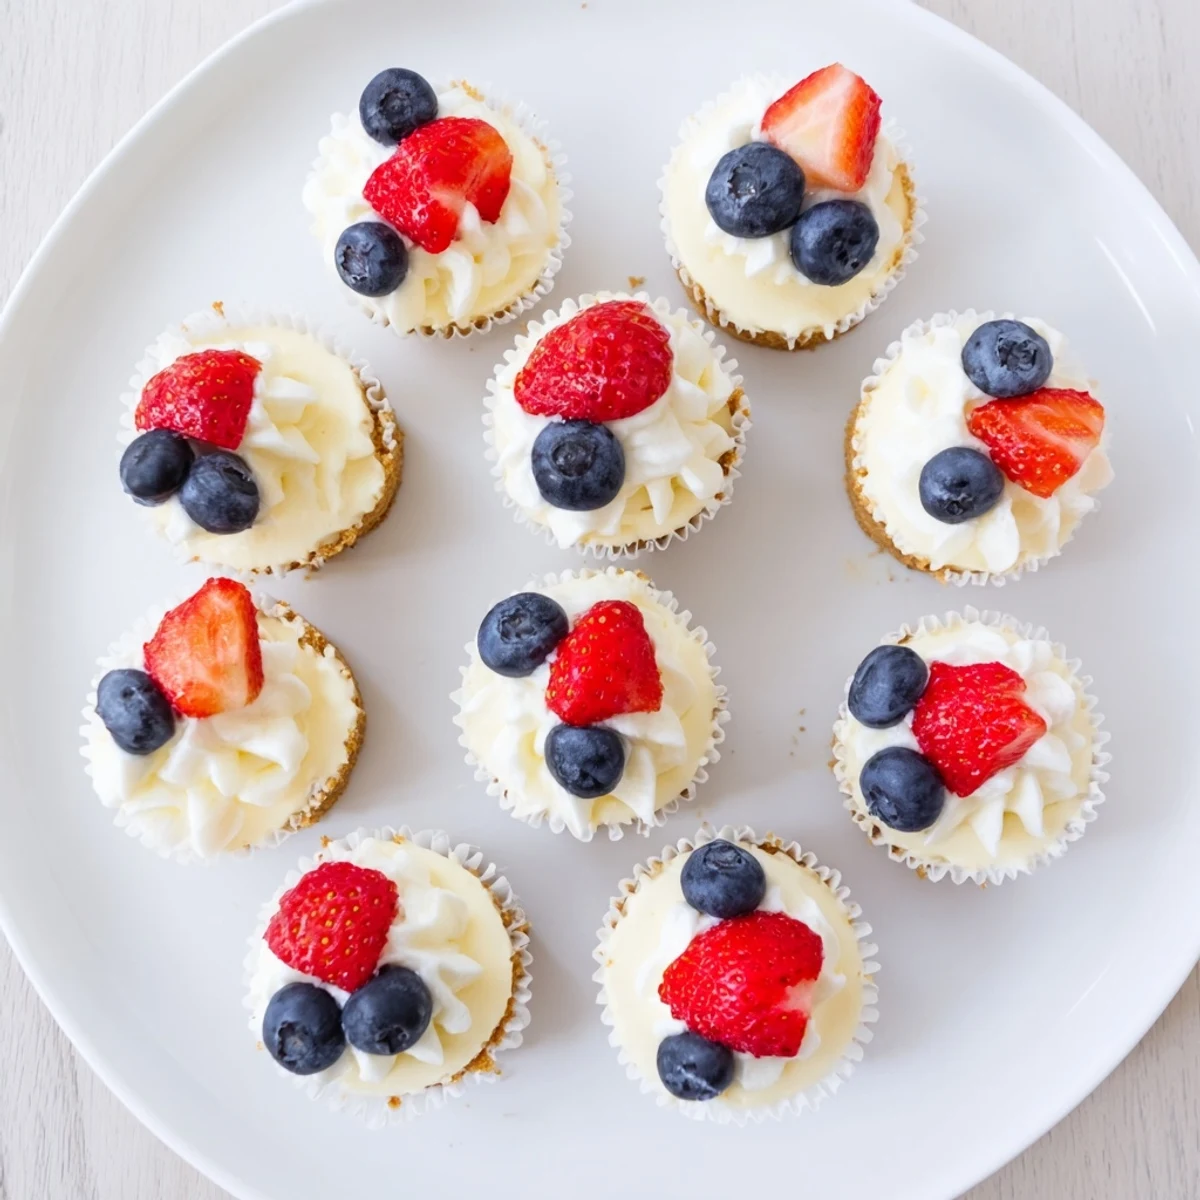
Top them with fresh berries, fruit preserves, or a dollop of sweetened sour cream for added flair. These miniature delights stay fresh in the refrigerator for days, making them ideal for make-ahead dessert planning.
The first time I made these tiny cheesecakes was for my daughter's birthday party when she turned seven. I needed something that felt special but wouldn't leave me trapped in the kitchen while kids ran wild through the backyard. These little beauties were perfect—portioned for small hands, impressive enough for parents, and I could make them the day before without any stress. Now they're my go-to whenever I need a dessert that looks like I tried harder than I actually did.
Last summer I brought these to a potluck and watched my friend Sarah take three of them before asking what made them so different from regular cheesecake. She couldn't believe it was just a vanilla wafer at the bottom creating that perfect crisp layer. Now she texts me every time she makes them, usually with some photo of her kids helping press the cookies into the muffin tins. Something about individual servings makes people feel like they're getting their own special treat.
Ingredients
- 12 vanilla wafer cookies: These create an instant crust without any prep work—just one per muffin cup, flat side down
- 16 oz (450 g) cream cheese, softened: Room temperature is non negotiable here or you'll end up with lumpy batter
- 1/2 cup (100 g) granulated sugar: Just enough sweetness without making them cloying
- 2 large eggs: Also at room temperature so they incorporate seamlessly
- 1 tsp pure vanilla extract: Don't skip on quality here since vanilla is a primary flavor
- 1/4 cup (60 ml) sour cream: This is what gives the filling that velvety restaurant texture
- 1 tbsp all-purpose flour: Just enough to stabilize without making them taste floury
- Pinch of salt: Balances the sweetness and makes all flavors pop
- Optional topping: 1/2 cup sour cream mixed with 2 tbsp powdered sugar, plus fresh berries or fruit preserves
Instructions
- Get your oven ready:
- Preheat to 325°F (165°C) and line a 12 cup muffin tin with paper liners while the cream cheese sits on the counter coming to room temperature
- Build the crust foundation:
- Drop one vanilla wafer into each liner, flat side down, creating that instant crispy bottom that everyone will ask about
- Make the base velvety:
- Beat the softened cream cheese and sugar together until completely smooth, taking your time so no lumps remain
- Add the eggs one by one:
- Mix in each egg individually until fully incorporated before reaching for the next one
- Finish the filling:
- Blend in the vanilla, sour cream, flour, and salt just until everything comes together
- Fill the cups:
- Divide the batter evenly among the muffin cups, aiming to fill each about three quarters full
- Bake until just set:
- Slide them into the oven for 16 to 18 minutes until centers have a slight wobble like gelatin
- Cool in stages:
- Let them rest in the pan for 10 minutes before transferring to a wire rack to cool completely
- Add the optional topping:
- Mix the extra sour cream with powdered sugar until smooth, then dollop onto each cooled cheesecake and add fresh berries or preserves
- Chill before serving:
- Refrigerate for at least 30 minutes so flavors meld and texture firms up perfectly
 Save
Save My grandmother always said the best desserts are the ones that make people close their eyes for that first bite. I think of her whenever I serve these at family gatherings, watching everyone's reactions. There's something universally comforting about cheesecake, but in this portion size, people feel free to indulge without that heavy feeling afterward.
Making Them Ahead
These cheesecakes actually taste better after a night in the refrigerator, which makes them perfect for planning ahead. The flavors deepen and the texture becomes even more luxurious. I've made them three days in advance for events, and they were still perfect on serving day.
Flavor Twists That Work
Lemon zest added to the batter creates a bright version that's perfect for spring gatherings. Sometimes I'll swirl in a tablespoon of raspberry preserves before baking for a marble effect that looks stunning on dessert platters. Chocolate lovers can fold in mini chocolate chips or drizzle melted ganache over the top.
Serving Suggestions
These work beautifully on dessert buffets because they're self contained and easy to grab. I like to arrange them on a tiered stand with different toppings so guests can choose their favorite. They're also perfect for packaging individually as edible gifts for friends and neighbors.
- Arrange toppings in small bowls so people can customize their own
- Let them sit at room temperature for 15 minutes before serving for the best texture
- Use a small offset spatula for smoothing the sour cream topping if you want them picture perfect
 Save
Save These little cheesecakes have become my secret weapon for any gathering that needs a dessert people will remember. Sometimes the simplest recipes end up being the ones that make you look like a kitchen genius.
Recipe FAQs
- → Can I make these ahead of time?
-
Yes, these mini cheesecakes store beautifully in the refrigerator for up to 3 days in an airtight container. They actually taste better after chilling overnight, which allows the flavors to meld together.
- → What can I use instead of vanilla wafers?
-
Graham cracker crumbs, gingersnap cookies, or butter cookies work well as crust alternatives. Simply crush about 12 cookies and press a tablespoon into each muffin cup liner.
- → How do I know when they're done baking?
-
The centers should be just set with a slight wobble when you gently shake the pan. They will continue to firm up as they cool, so avoid overbaking which can cause cracking.
- → Can I freeze these mini cheesecakes?
-
Absolutely! Place them on a baking sheet to freeze individually, then transfer to a freezer-safe container. Thaw overnight in the refrigerator before serving. They'll keep for up to 2 months.
- → Why did my cheesecakes crack?
-
Cracking usually occurs from overmixing the batter or overbaking. Mix ingredients until just combined and remove from the oven when the centers still have a slight jiggle. Rapid temperature changes can also cause cracks.
- → Can I add toppings before baking?
-
It's best to add toppings like fresh berries, fruit preserves, or sour cream after the cheesecakes have cooled completely. Adding wet toppings before baking can affect the texture and cooking time.