 Save
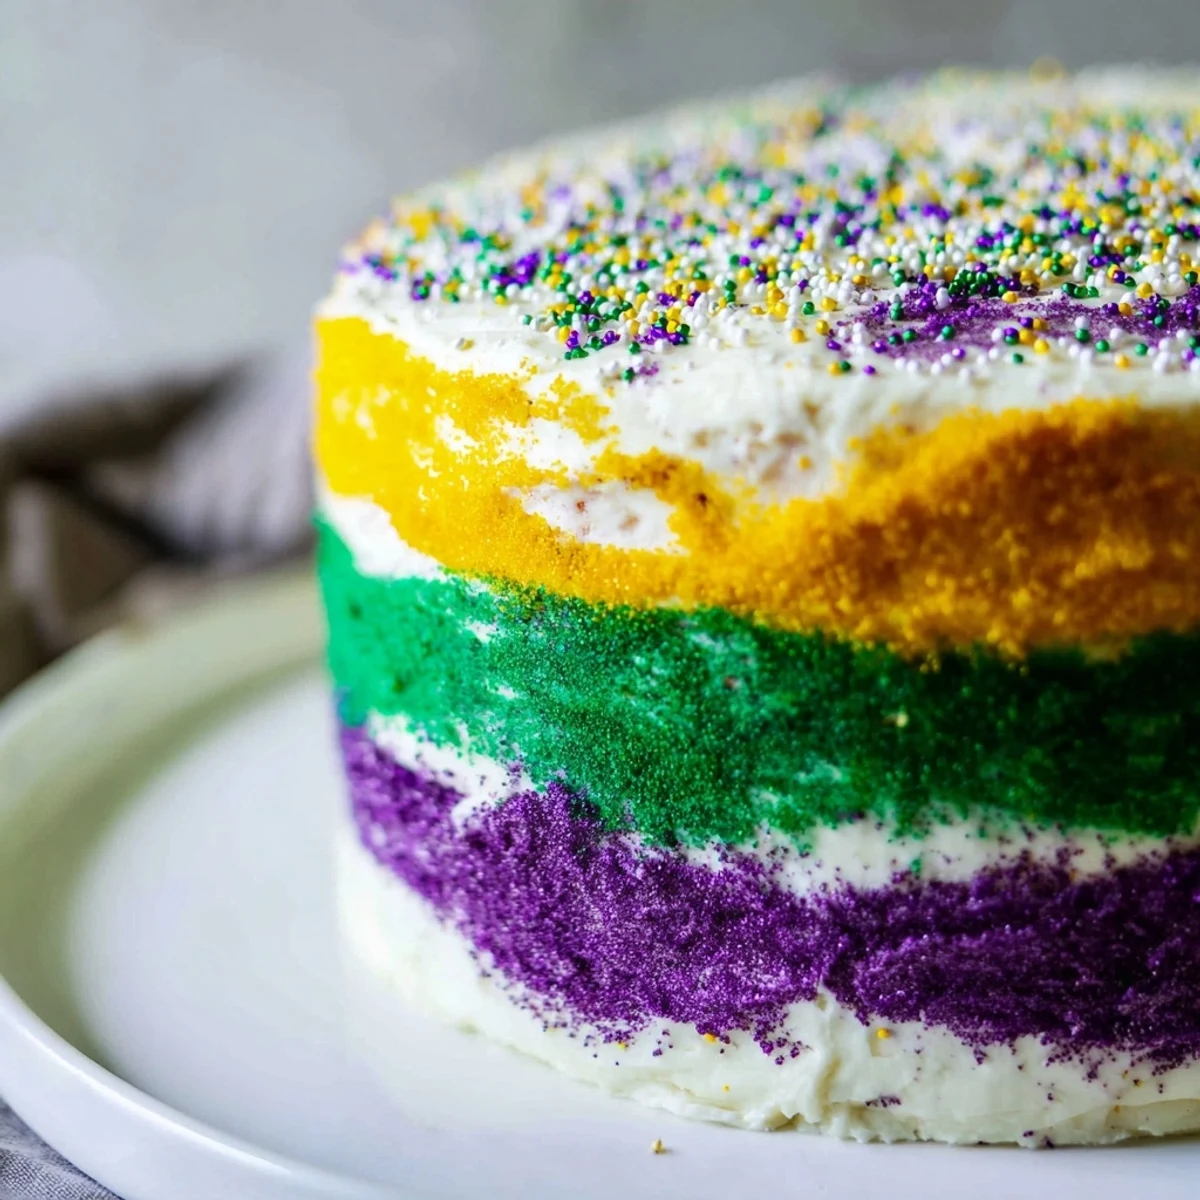
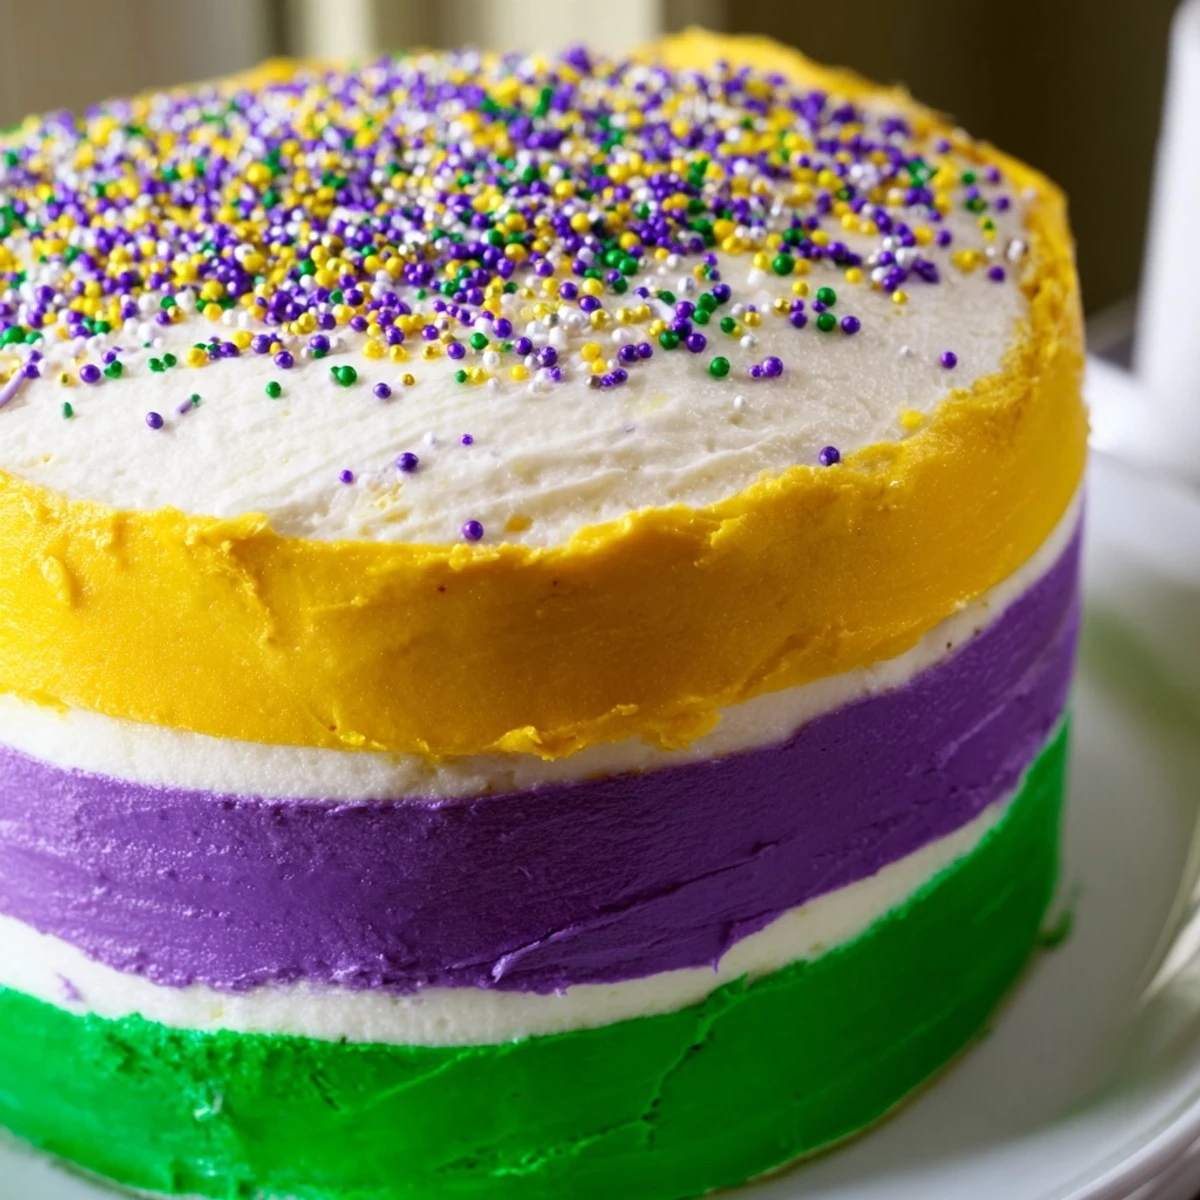
Save This festive cake features moist vanilla layers paired with bright purple, green, and gold icing, capturing the spirit of Mardi Gras. The spongy cake is made with buttery richness, balanced by a smooth tricolor buttercream gently tinted with gel colors. Layers are stacked and decorated with striped icing and optional colored sugar, bringing a colorful, celebratory look. The cake chills to enhance slice definition and offers a sweet flavor with a Southern flair. Ideal for gatherings, it pairs wonderfully with dessert wines or coffee.
The first time I attempted a Mardi Gras cake, I accidentally used too much purple gel and ended up with frosting the color of a bruised plum instead of royal purple. My sister still brings it up every year, but that mistake taught me that food coloring has a personality of its own. Now I treat each bowl of frosting like a chemistry experiment, adding color drop by drop until it hits that perfect Fat Tuesday vibrancy. The kitchen always ends up looking like a rainbow exploded, but that is half the fun anyway.
Last year I made this for my book club meeting in February, and we ended up having an impromptu Mardi Gras celebration. Everyone insisted on taking home the slice with the most frosting, which turned into a whole debate about which color tasted best. Spoiler alert, they all taste the same but purple somehow won by a landslide. Now it is requested every time we need an excuse to eat cake and wear plastic beads.
Ingredients
- All purpose flour: The backbone of this tender cake, providing structure while keeping the crumb soft and delicate
- Baking powder: Gives the cake its lift, so measure accurately and check the expiration date for the best rise
- Unsalted butter: Room temperature butter is non negotiable here, it creates the airy texture that makes this cake special
- Granulated sugar: Sweetens and tenderizes, creaming it properly with the butter is what makes the cake light instead of dense
- Large eggs: Bring everything together and add richness, they really need to be at room temperature to incorporate smoothly
- Vanilla extract: Pure vanilla makes all the difference in a simple cake like this, do not skimp on quality
- Whole milk: Adds moisture and helps create that velvety texture we want in a celebration cake
- Powdered sugar: Sifting it first prevents lumps in your frosting, trust me, I learned this the hard way
- Gel food coloring: Much more concentrated than liquid coloring, start with a tiny amount and work your way up
Instructions
- Get your oven ready:
- Preheat to 350°F and grease two 9 inch cake pans thoroughly, then dust them with flour for insurance
- Whisk the dry team:
- Combine flour, baking powder, and salt in a medium bowl, giving it plenty of air to ensure even distribution later
- Cream butter and sugar:
- Beat them together for a full 3 minutes until the mixture looks pale and fluffy, this is where the magic begins
- Add the eggs one at a time:
- Let each egg fully incorporate before adding the next, then mix in that glorious vanilla extract
- Bring it all together:
- Alternate adding flour mixture and milk, starting and ending with flour, mixing just until combined
- Bake to perfection:
- Divide batter evenly between pans and bake for 30 to 35 minutes until a toothpick comes out clean
- Make the frosting party:
- Beat butter until creamy, then gradually add powdered sugar, milk, vanilla, and salt until fluffy
- Divide and color:
- Split frosting into three bowls and tint each with purple, green, and yellow gel coloring separately
- Assemble and decorate:
- Layer the cakes with frosting between, then frost the top and sides with your three colors in whatever pattern makes you happy
 Save
Save I brought this to a potluck once and someone actually gasped when I cut into it, which is pretty much the highest compliment a cake can receive. The colors against the white plate made it look like something from a bakery window, and people could not believe it was homemade. That moment of watching everyone reach for their phones to take pictures before grabbing a fork, that is why I bother with three separate bowls of frosting.
Making The Colors Pop
Gel food coloring is worth every penny for this recipe because liquid coloring will throw off your frosting consistency and make it too soft. I add color with a toothpick, literally one tiny dot at a time, because it is incredibly concentrated. The colors deepen as they sit, so what looks perfect right after mixing might look even better an hour later.
Frosting Like A Pro
Apply a thin crumb coat first, which is just a very thin layer of frosting to seal in the loose crumbs, then chill for 15 minutes before adding your final layer of colored frosting. This simple step changed everything for me and my cakes suddenly started looking professionally done instead of enthusiastically homemade.
Storage And Serving
This cake actually tastes better on day two when the flavors have had time to settle and the frosting has softened slightly into the cake. Keep it covered at room temperature for up to three days, or refrigerate if your kitchen runs warm. The cold also helps those colored frostings hold their shape in humid weather.
- Let refrigerated cake come to room temperature for 30 minutes before serving for the best texture
- Use a hot knife dipped in hot water and wiped dry for perfectly smooth cuts
- Extra colored frosting can be frozen for up to three months if you somehow have leftovers
 Save
Save Whether you are celebrating Fat Tuesday or just need a reason to eat something colorful and cheerful, this cake delivers joy in every slice. Laissez les bons temps rouler, yall.
Recipe FAQs
- → What makes this cake moist and flavorful?
-
Using unsalted butter, granulated sugar, and whole milk in the batter creates a tender crumb and rich vanilla flavor.
- → How is the tricolor icing achieved?
-
The buttercream is divided into three portions, each tinted with purple, green, and gold gel food coloring for vibrant stripes.
- → Can the cake be prepared ahead of time?
-
Yes, chilling the cake after decorating helps set the icing for cleaner slices and easier serving.
- → Are there traditional decorations included?
-
Optional colored sugar and Mardi Gras beads or a plastic baby can be added for authentic festive touches.
- → What equipment is needed to make the cake?
-
Two 9-inch round pans, an electric mixer, mixing bowls, an offset spatula, wire racks, and a serving plate are recommended.