 Save
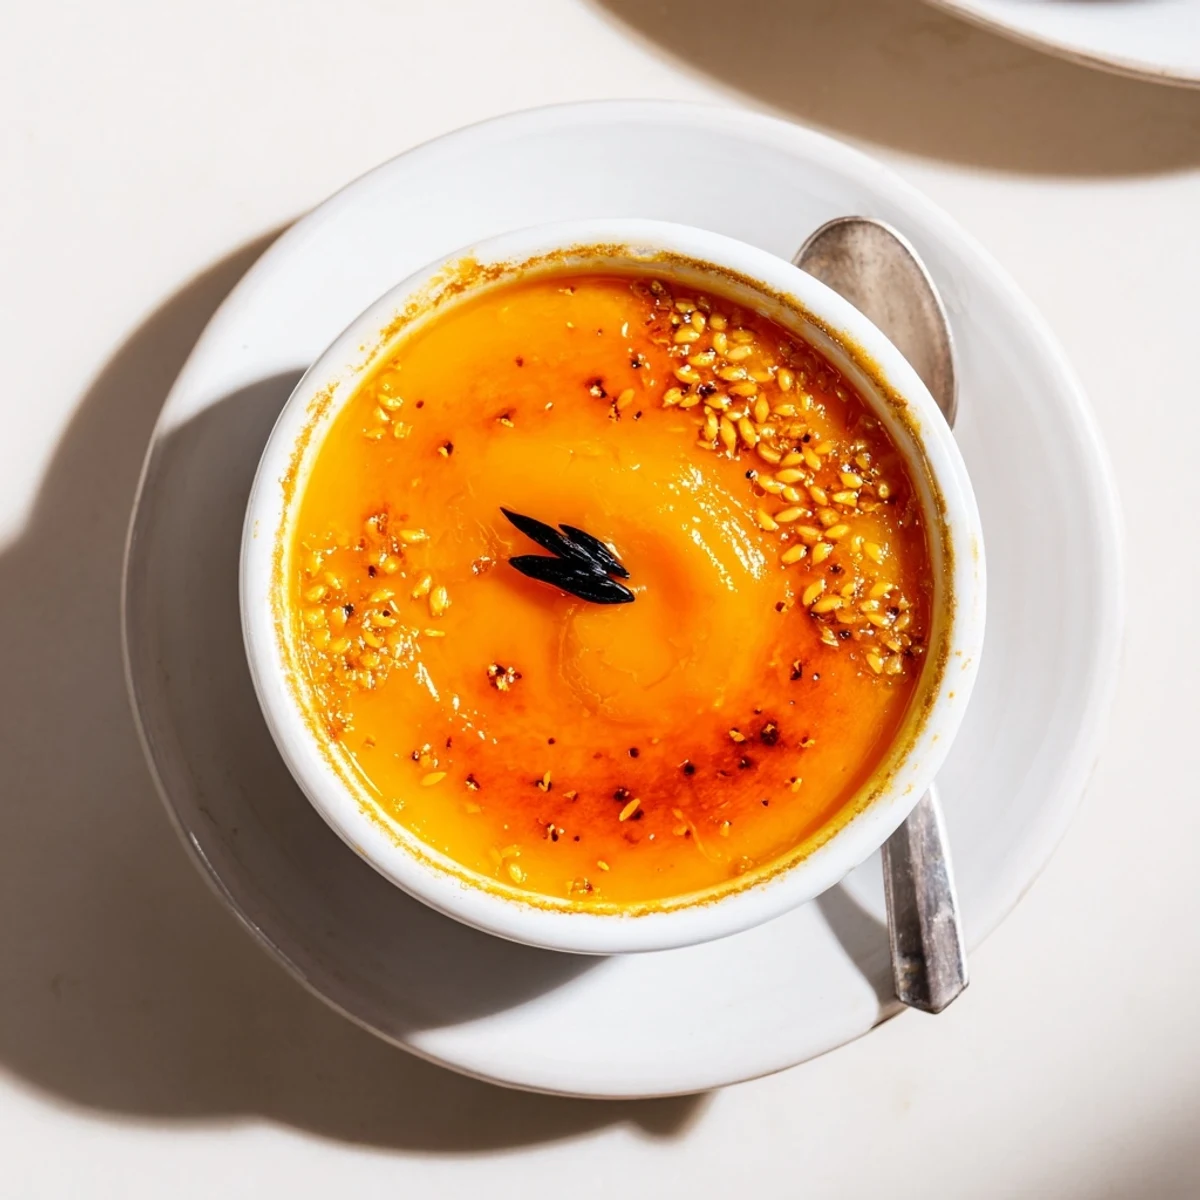
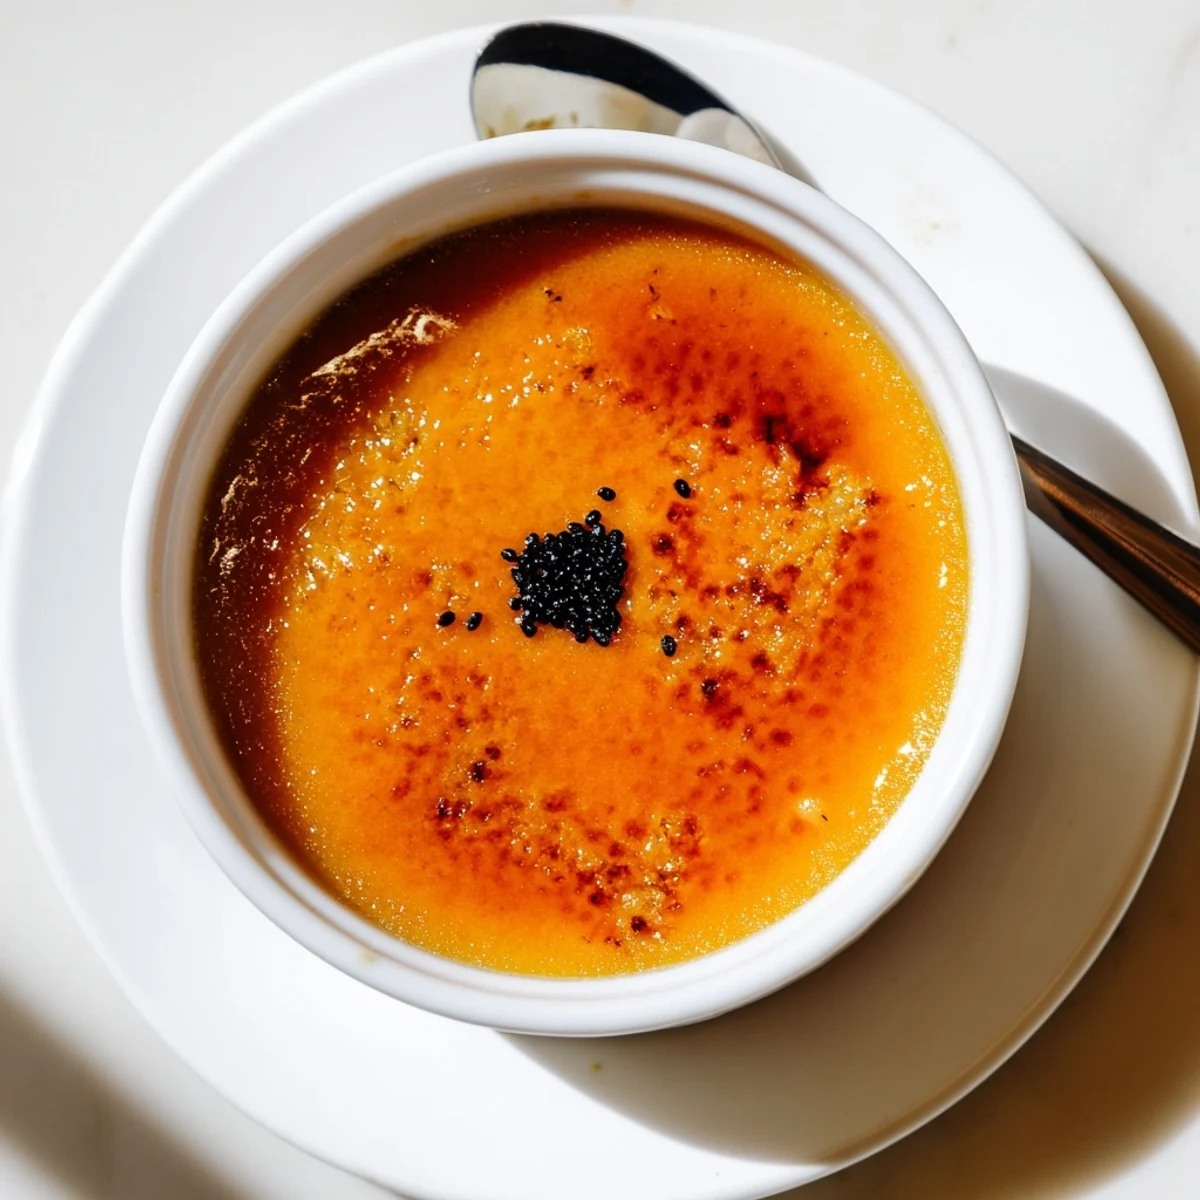
Save Create an elegant fusion dessert that marries the velvety smoothness of classic French custard with the naturally sweet, nutty profile of Japanese sweet potato. The result is a stunning golden-orange base topped with the signature crackling caramelized sugar layer that makes crème brûlée irresistible.
The process involves steaming tender sweet potato cubes, blending them into a silky cream mixture, then combining with a traditional egg yolk custard base. After gentle water bath baking, the chilled custards receive their finishing touch—a crisp sugar crust that shatters beautifully with each spoonful.
This dessert balances the earthy sweetness of purple-fleshed Japanese sweet potatoes (satsumaimo) against the rich dairy custard, creating depth that goes beyond typical vanilla offerings. The natural vegetable sugars complement rather than overpower the delicate custard.
Perfect for dinner parties or special occasions, these individual portions can be prepared ahead and brûléed just before serving. The striking color and sophisticated flavor profile make this an memorable conclusion to any meal.
The first time I encountered Japanese sweet potatoes was at a tiny market in Tokyo, where the vendor insisted I try one roasted. That incredible natural sweetness and creamy texture stuck with me for years. When I finally thought to combine that memory with my love for crème brûlée, something magical happened in my kitchen. Now every autumn, I find myself reaching for those purple-skinned sweet potatoes.
Last winter I made these for a dinner party where half the guests claimed to dislike sweet potatoes. By the end of the night, every ramekin was scraped clean. My friend Sarah actually asked if there was a hidden ingredient because the flavor was so complex and comforting. The contrast between the warm custard and that cold, hard caramelized top creates such a special experience.
Ingredients
- 1 large Japanese sweet potato: These purple-skinned varieties are naturally sweeter and creamier than orange sweet potatoes, which makes all the difference in the final custard texture
- 1 cup heavy cream: Full fat is essential here because it creates that luxurious mouthfeel you expect from a proper crème brûlée
- 1/2 cup whole milk: I have tried using all cream before and it becomes too heavy, the milk lightens it perfectly
- 4 large egg yolks: Room temperature yolks blend more smoothly into the custard base and prevent curdling
- 1/4 cup granulated sugar: This is just enough to enhance the sweet potato without overpowering its natural flavor
- 1/4 teaspoon vanilla extract: Pure vanilla adds that warm background note that ties everything together
- Pinch of salt: Never skip the salt, it makes the sweet potato flavor pop in a way sugar alone cannot achieve
- 3 to 4 tablespoons granulated sugar: Extra sugar specifically for creating that signature burnt sugar crust on top
Instructions
- Preheat your oven to 150°C (300°F) and boil some water:
- Get your water going first because you will need it hot and ready when the custards go into the oven
- Cook the sweet potato until very tender:
- Steam or boil the cubes for about 15 minutes until they fall apart when pierced with a fork, then drain them well
- Blend the sweet potato with cream and milk:
- Puree everything in your blender until absolutely smooth with no chunks remaining, this step is worth taking your time with
- Whisk the egg mixture:
- Beat those yolks, sugar, vanilla, and salt until the mixture turns pale and slightly thickened
- Combine the mixtures slowly:
- Pour the sweet potato blend into the eggs gradually while whisking constantly to prevent the eggs from scrambling
- Strain through a fine mesh sieve:
- This extra step removes any remaining fibers and guarantees that silky smooth restaurant texture
- Fill the ramekins:
- Divide the custard evenly among four ramekins and place them in your deep baking pan
- Create the water bath:
- Pour the hot water carefully into the pan until it reaches halfway up the sides of the ramekins
- Bake until just set:
- Bake for 30 to 35 minutes until the center still wobbles slightly like gelatin when gently shaken
- Chill completely:
- Let them cool to room temperature first, then refrigerate for at least 2 hours though overnight is even better
- Caramelize the tops:
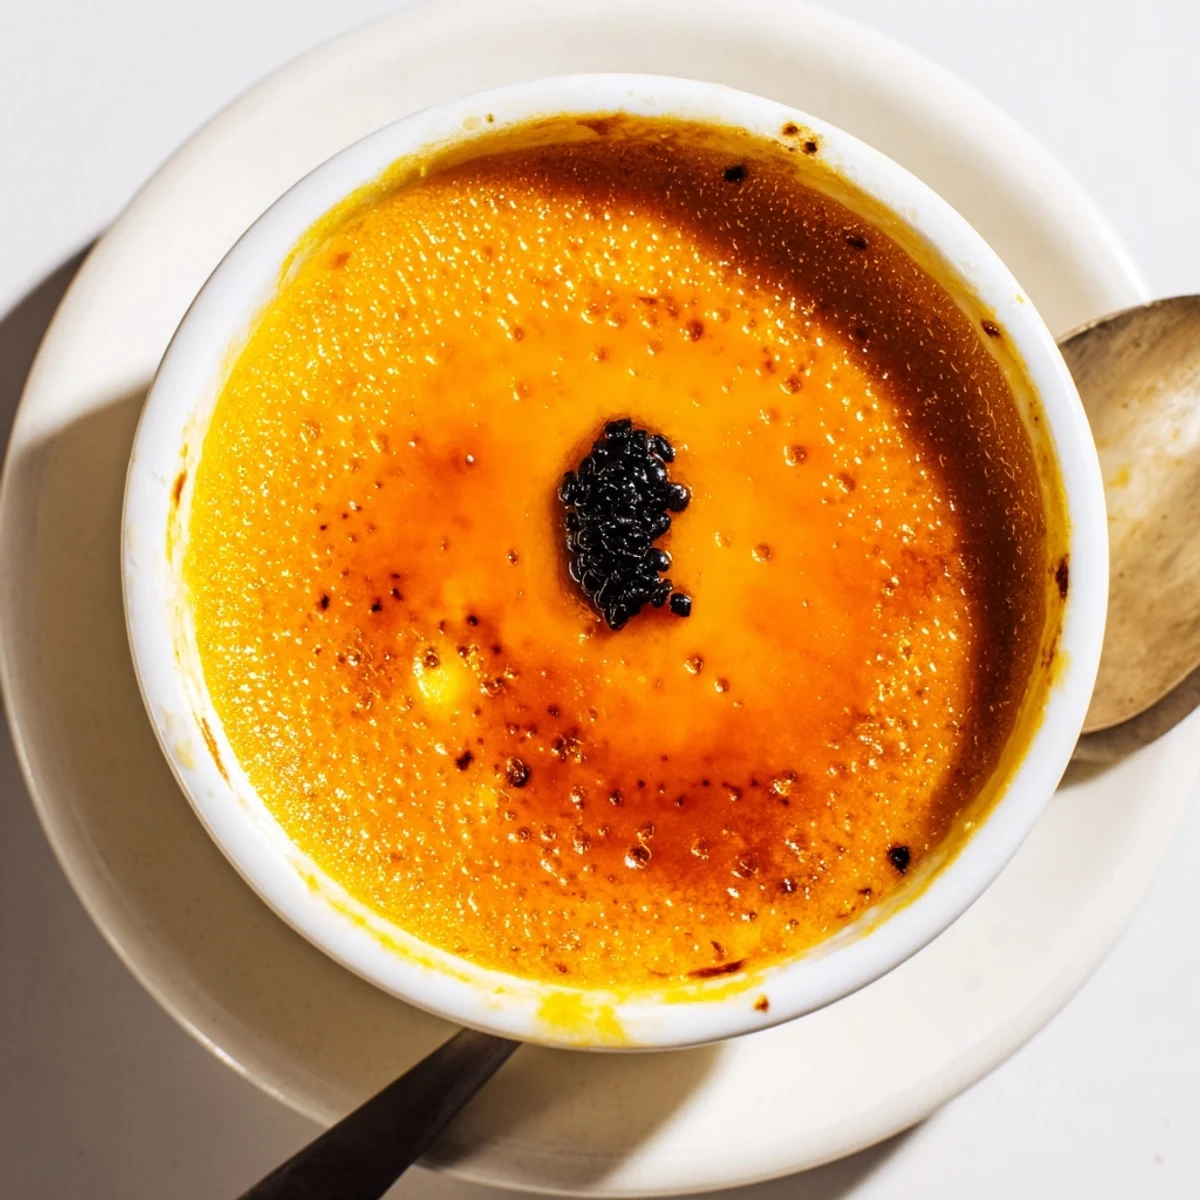
- Sprinkle one tablespoon of sugar over each chilled custard and torch until golden brown and bubbly
- Let the caramel harden:
- Wait about 3 minutes for that sugar shell to set before serving, it makes such a satisfying sound when you break through
 Save
Save These became my go-to dinner party dessert after that first successful batch. There is something so satisfying about bringing out those beautiful golden-topped ramekins and watching everyone crack through that caramelized sugar. The silence that falls over the table when everyone takes that first bite is the best compliment I could ask for.
Making It Ahead
The custard base actually improves after a day in the refrigerator, giving the flavors time to meld together beautifully. I often make the custards the day before and just brûlée the tops right before serving. This makes them perfect for entertaining since all the hard work happens in advance.
Getting That Perfect Crack
The key to a good burnt sugar top is an even layer of sugar without any bare spots. I tilt and rotate each ramekin as I sprinkle to ensure complete coverage. The sugar should look like a thin, even blanket over the entire surface.
Serving Suggestions
These are fantastic on their own but a few thoughtful garnishes can elevate them even further. A sprinkle of black sesame seeds adds a nice nutty contrast and looks beautiful against the golden caramel.
- A small piece of candied sweet potato on top adds a lovely chewy texture contrast
- Some whipped cream on the side helps balance the richness if serving after a heavy meal
- A cup of hojicha or green tea pairs wonderfully with the earthy sweet potato notes
 Save
Save Hope this recipe brings as much joy to your kitchen as it has to mine. There is something truly special about the way simple ingredients can transform into something so elegant and comforting.
Recipe FAQs
- → What makes Japanese sweet potato different from regular varieties?
-
Japanese sweet potatoes (satsumaimo) have purple skin and pale yellow flesh with a naturally sweet, nutty flavor and creamy texture when cooked. They're less starchy than orange yams, making them ideal for smooth custards.
- → Can I make this without a kitchen torch?
-
Yes. Use your oven's broiler setting—place ramekins on a baking sheet and broil for 1–2 minutes, watching constantly. The sugar will caramelize but requires close attention to prevent burning.
- → How far in advance can I prepare these?
-
The custards can be baked and refrigerated up to 2 days ahead. Only add the caramelized sugar topping immediately before serving, as humidity will cause the crisp layer to soften over time.
- → Is there a dairy-free alternative?
-
Substitute full-fat coconut cream for both heavy cream and whole milk. The custard will have subtle coconut notes that pair beautifully with sweet potato. Ensure you use coconut cream from cans, not cartons.
- → Why strain the custard mixture before baking?
-
Straining through a fine mesh sieve removes any sweet potato fibers or bits of cooked egg, ensuring an impeccably smooth, professional-textured custard. This step is essential for achieving that signature silky mouthfeel.
- → Can I use other types of sweet potato?
-
Beauregard or Garnet yams will work but yield a more vibrant orange color and slightly sweeter result. For the closest match to Japanese varieties, look for white-fleshed sweet potatoes at Asian markets.