 Save
Save This homemade yogurt delivers a creamy, tangy result using only whole milk and a starter culture with active live cultures. After gently heating the milk to 85°C and cooling it to around 43°C, you simply mix in the starter, cover, and let it incubate undisturbed for 8 to 12 hours in a warm spot.
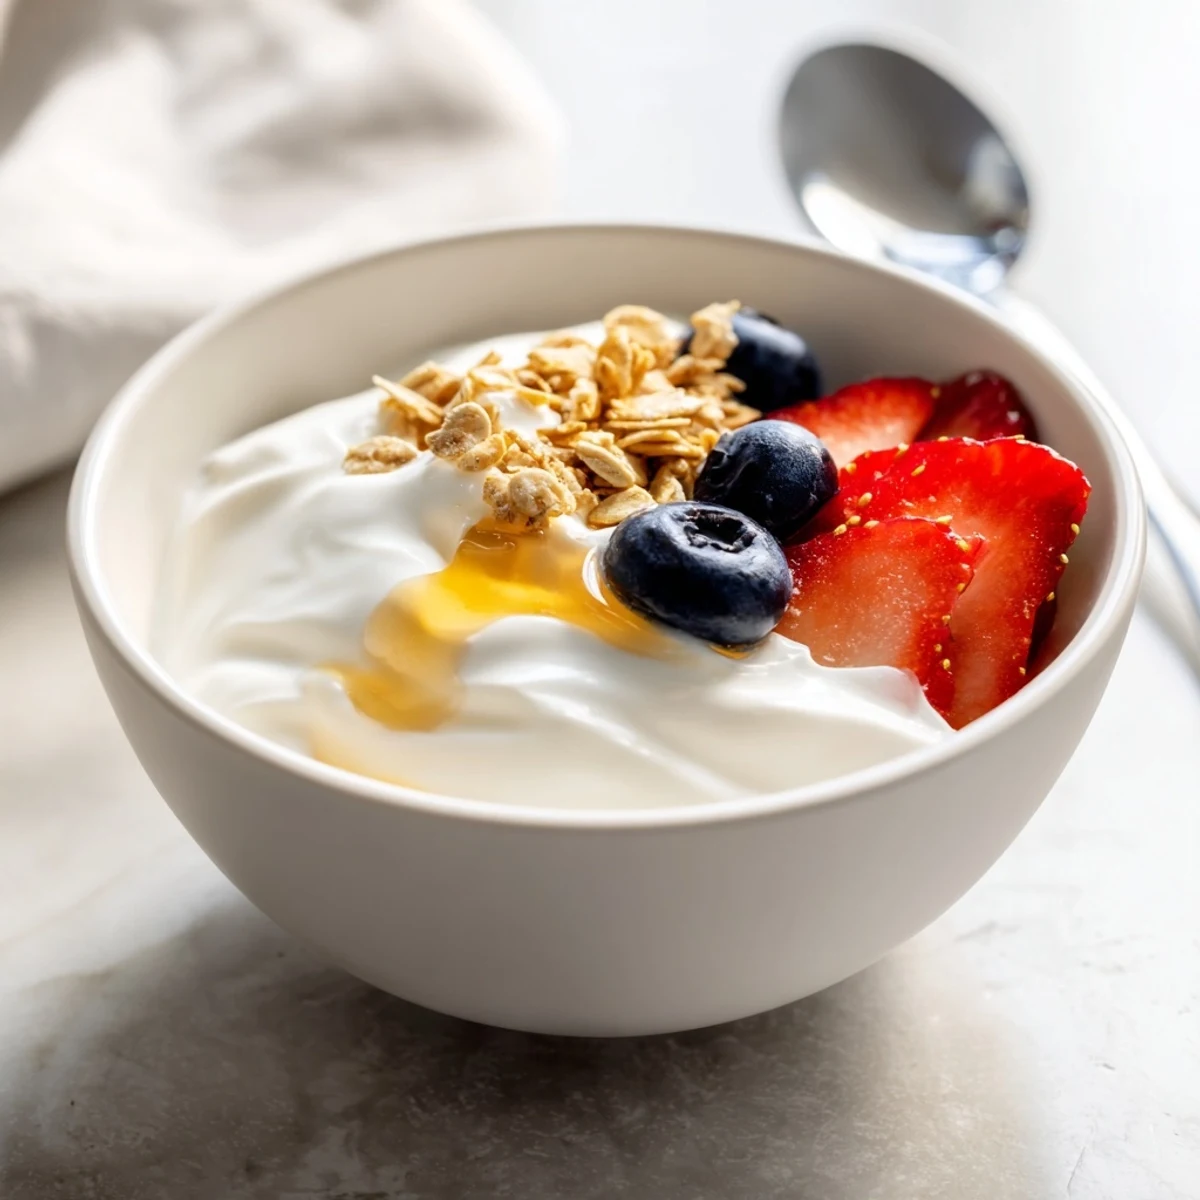
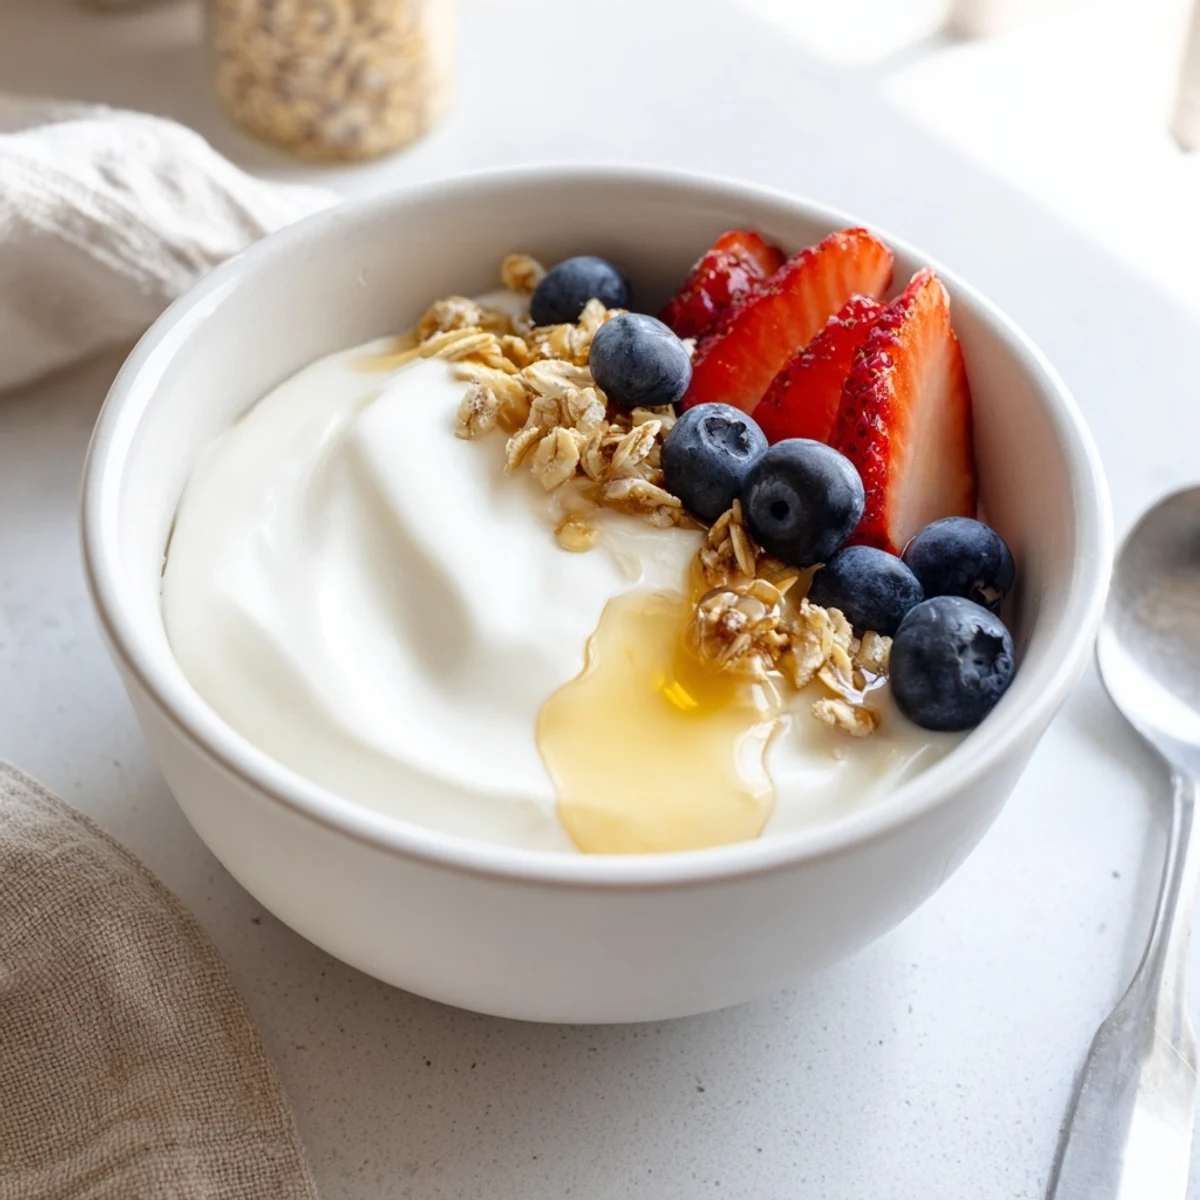
The longer the incubation, the tangier the result. Once set, a thorough chill in the refrigerator firms everything up beautifully. From there, you can enjoy it plain, drizzled with honey, topped with granola and fresh fruit, or even strain it through cheesecloth for a thicker, Greek-style consistency.
Save a few spoonfuls from each batch to use as your starter for the next one, making this a sustainable and cost-effective kitchen staple you'll always have on hand.
My kitchen smelled like a warm dairy farm the morning I decided to stop buying yogurt entirely. It was a Tuesday, oddly enough, and I had a liter of milk threatening to expire and nothing to lose. The whole process felt almost meditative, watching temperature numbers climb on my instant read thermometer like a slow countdown to something wonderful. By the next morning, I had four jars of the silkiest, most tangy yogurt I had ever tasted, and I have not looked at a grocery store yogurt cup since.
I brought a jar of my first successful batch to my neighbor Elena, who grew up watching her grandmother make yogurt in a small village in Greece. She took one bite, closed her eyes, and told me it transported her straight back to her yiayias kitchen. That one moment of connection made every degree of temperature monitoring completely worth it.
Ingredients
- 1 liter whole milk: Whole milk produces the creamiest, most luxurious texture, and I learned through a sad batch of watery yogurt that low fat milk simply cannot compete.
- 2 tablespoons plain yogurt with active cultures: This is your starter and the soul of the entire recipe, so check the label to confirm it contains live active cultures and nothing else unnecessary.
Instructions
- Heat the milk gently:
- Pour the milk into your saucepan and set it over medium heat, stirring now and then so the bottom does not scorch. Watch your thermometer climb to 85 degrees Celsius and pull it off the heat before it dares to boil, because boiling changes the proteins and your texture will suffer.
- Cool it down patiently:
- Let the milk sit until it drops to between 43 and 45 degrees Celsius, which takes roughly 30 to 40 minutes depending on your kitchen. This is the temperature sweet spot where the cultures are comfortable enough to wake up and do their work without being shocked or destroyed.
- Temper the starter:
- Scoop a few tablespoons of the warm milk into a small bowl and whisk it together with your starter yogurt until completely smooth, eliminating any stubborn lumps. This gentle introduction prevents the cultures from experiencing thermal shock when they join the larger volume of milk.
- Unite and pour:
- Stir the tempered starter back into the saucepan with a gentle sweeping motion, then pour the mixture into your clean containers or jars. Cover them loosely with lids or a clean kitchen towel because the cultures need a tiny bit of breathing room.
- Incubate with faith:
- Place your jars in a warm, undisturbed spot for 8 to 12 hours, such as a turned off oven with the light switched on or a dedicated yogurt maker. The longer you incubate, the tangier the result becomes, so taste test at the 8 hour mark if you prefer milder yogurt.
- Chill and set:
- Transfer the containers to the refrigerator for at least 2 hours, during which the yogurt will firm up into its final scoopable texture. Resist the urge to stir or disturb it during this stage or you will break the delicate set you worked so patiently to create.
 Save
Save There is something deeply satisfying about opening the refrigerator and seeing a row of little jars filled with something I made from just two humble ingredients.
Getting the Thickness Right
If you crave that thick, Greek style consistency, patience is your best tool. Line a strainer with cheesecloth, set it over a bowl, and let your finished yogurt drain in the refrigerator for several hours or overnight. The whey that drips away is liquid gold for smoothies or bread making, so do not pour it down the drain.
Keeping Your Culture Alive
One of my favorite things about this recipe is that it keeps giving. Always save a few tablespoons from your current batch before you add any sweeteners or fruit to use as your next starter. After about four or five generations, the flavor can shift, so I restart with a fresh store bought culture to keep things balanced and predictable.
Serving Ideas Worth Trying
A plain jar of homemade yogurt is a blank canvas that can go in a hundred delicious directions depending on your mood and the season.
- Swirl in local honey and a pinch of cinnamon for a breakfast that feels like a warm hug on a cold morning.
- Layer with fresh berries and crunchy granola in a tall glass for a parfait that rivals any coffee shop offering.
- Use it as a base for savory dips by adding minced garlic, cucumber, and a squeeze of lemon for an instant tzatziki.
 Save
Save Once you experience the quiet satisfaction of homemade yogurt, the store bought versions will never quite measure up again. It is one of the simplest, most rewarding kitchen habits you will ever build.
Recipe FAQs
- → What type of milk works best for homemade yogurt?
-
Whole milk produces the thickest, creamiest results, but low-fat milk also works well. Avoid ultra-pasteurized milk if possible, as the high-heat processing can interfere with proper culturing and lead to a thinner consistency.
- → Do I need a yogurt maker to make this?
-
No, a yogurt maker is not required. A turned-off oven with the interior light switched on provides enough gentle warmth for incubation. Other options include a warm spot near a radiator, a thermos, or even a slow cooker wrapped in towels to maintain consistent heat.
- → Why did my yogurt turn out runny?
-
Thin yogurt usually means the incubation temperature dropped too low or the incubation time was too short. Make sure your warm spot stays consistently between 38°C and 45°C. Also, ensure your starter yogurt contains live, active cultures and hasn't expired.
- → How can I make my yogurt thicker without additives?
-
Strain the finished yogurt through a cheesecloth or fine mesh sieve for several hours in the refrigerator. This removes excess whey and yields a thick, Greek-style consistency. The leftover whey can be saved and used in smoothies or baking.
- → Can I reuse my homemade yogurt as a starter for the next batch?
-
Yes, absolutely. Reserve a few tablespoons from your current batch before adding any sweeteners or flavorings. Use it within a few days as your starter for the next batch. After several generations, you may notice a decline in thickness, at which point you should start fresh with a commercial starter.
- → How long does homemade yogurt last in the refrigerator?
-
Properly stored in an airtight container, homemade yogurt stays fresh for up to one week in the refrigerator. Always use a clean spoon when scooping portions to avoid introducing bacteria that could cause premature spoilage.