 Save
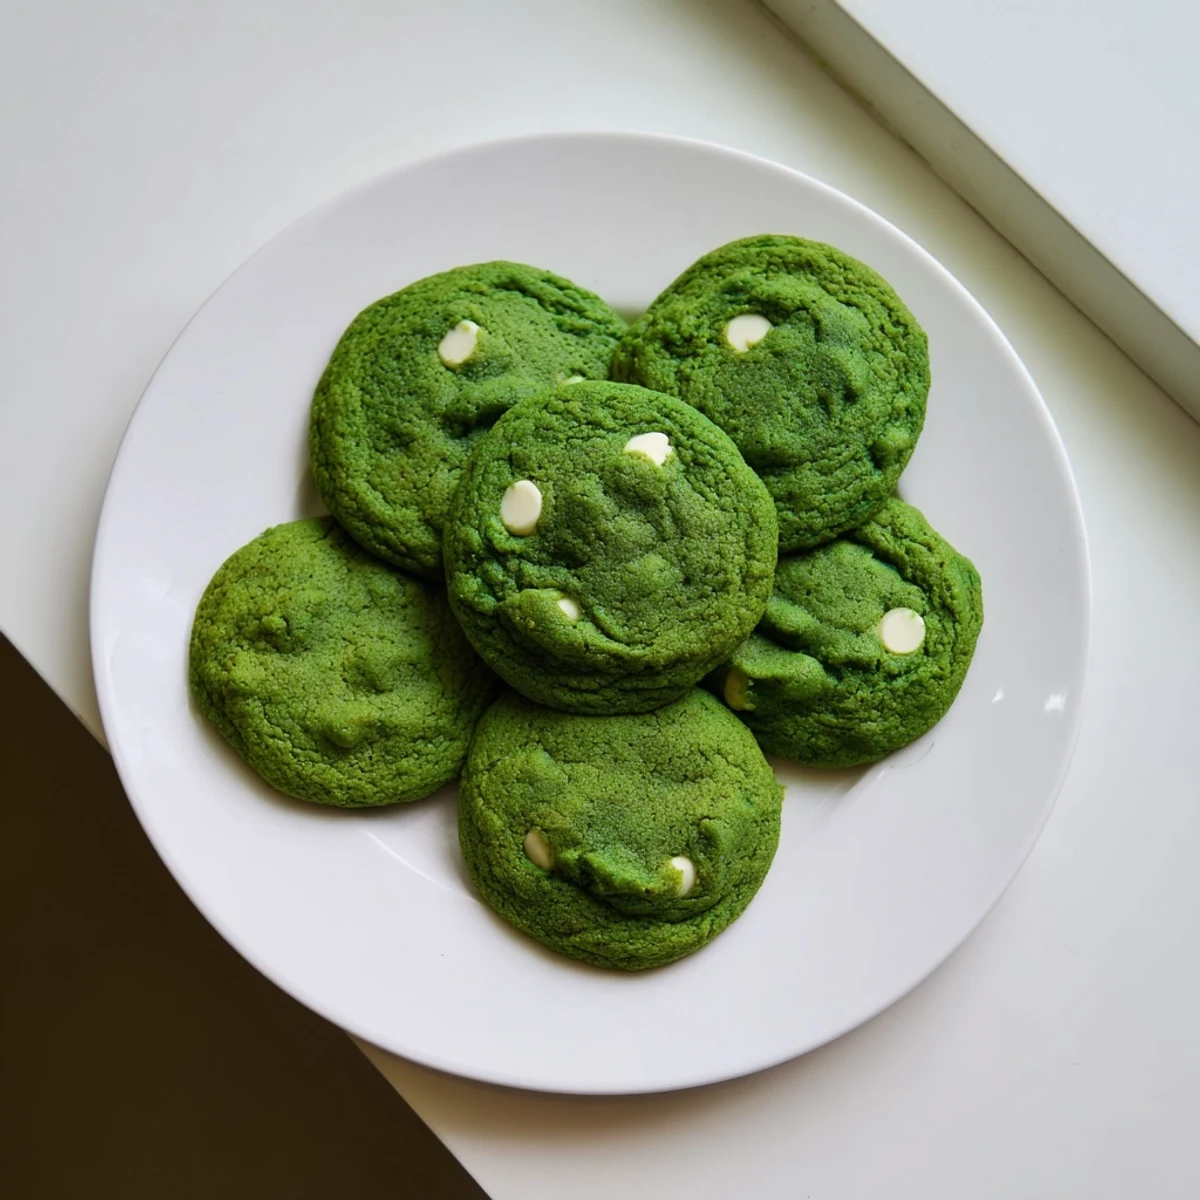
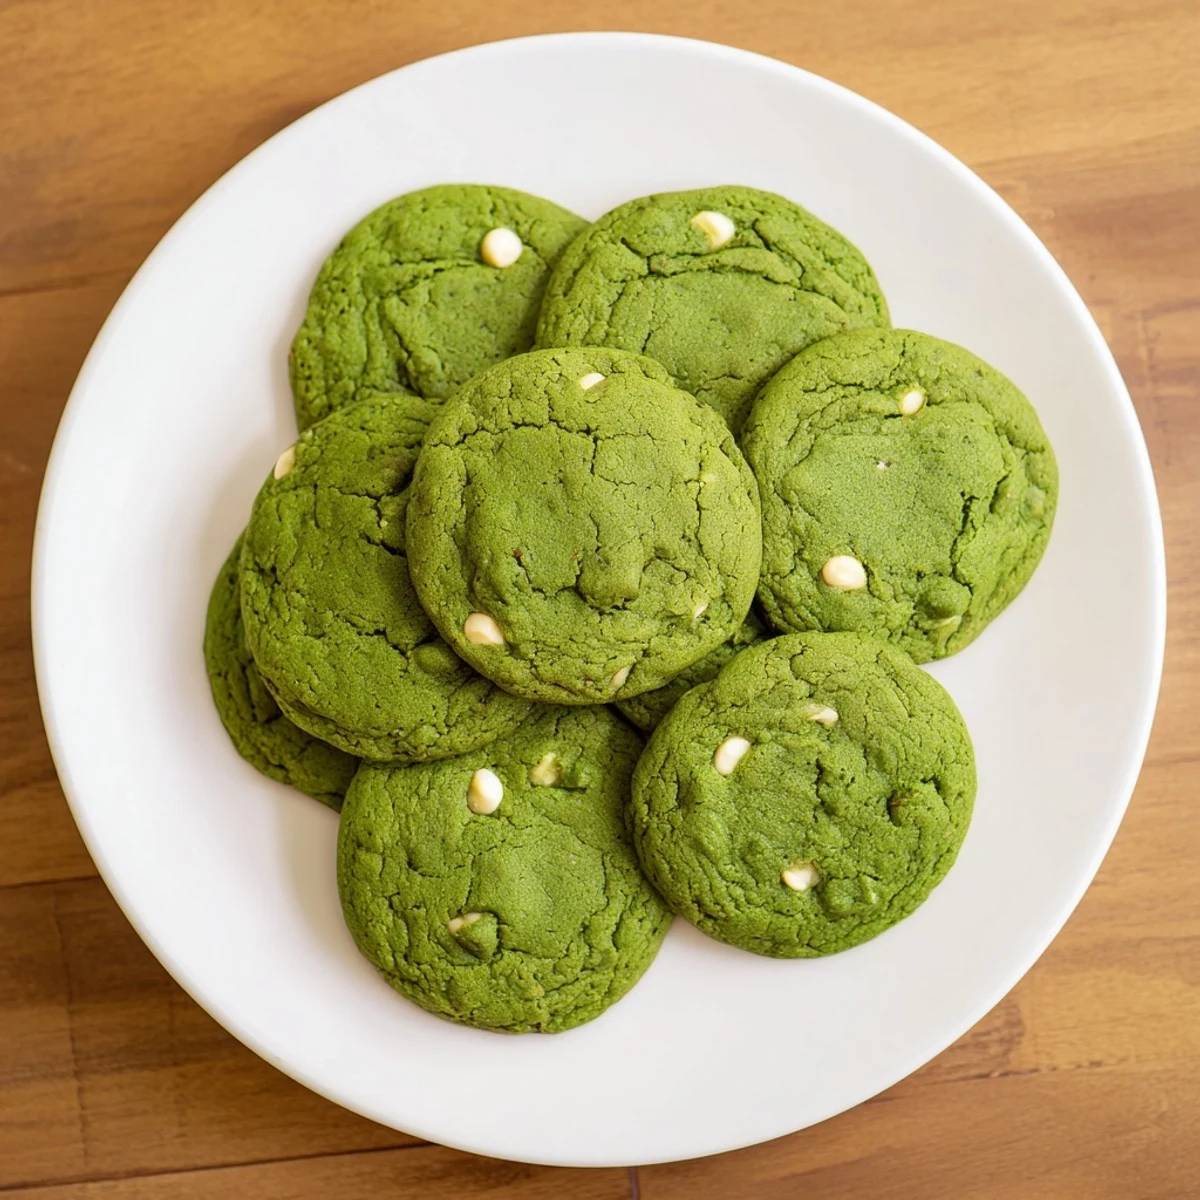
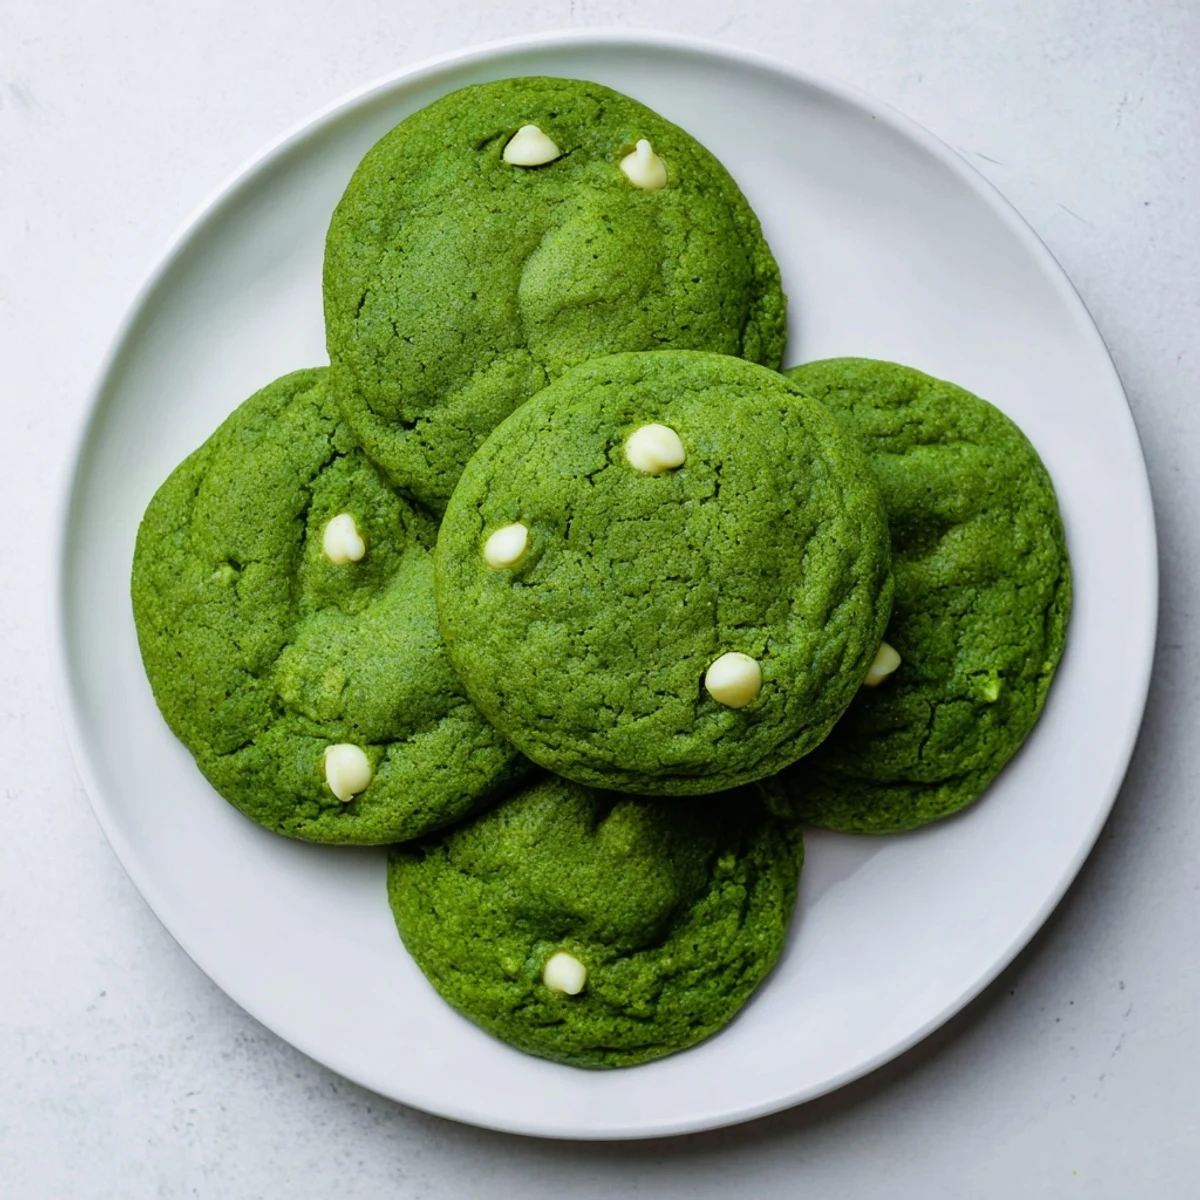
Save These vibrant green velvet cookies combine the soft, chewy texture of classic treats with a subtle cocoa undertone and creamy white chocolate chips. The dough comes together in just 20 minutes, requiring basic pantry ingredients plus green food coloring for that signature hue.
Baking at 350°F for 10-12 minutes yields cookies with set edges and irresistibly soft centers. The white vinegar reacts with baking soda to create the signature velvet texture, while cocoa powder adds depth without overpowering the delicate green color.
Customize with different chocolate varieties or add festive sprinkles. This batch makes 24 cookies, perfect for sharing during holidays or whenever you want something special and eye-catching.
The first time I made green velvet cookies, my sister thought I'd lost my mind baking what looked like little Grinch patties. But that first bite, the white chocolate melting against the unexpected cocoa undertone, completely won her over. Now they're the most requested treat at every family gathering, and I've learned to double the batch immediately.
Last St. Patrick's Day, I brought these to a potluck and watched them disappear in under ten minutes. Someone actually asked if I'd bought them from a fancy bakery, which I took as the ultimate compliment considering how quickly they come together. The vibrant color never fails to make people smile before they even take a bite.
Ingredients
- 2 1/4 cups all-purpose flour: The foundation that gives these cookies their perfect chewy structure
- 2 tablespoons unsweetened cocoa powder: Just enough to create depth without overpowering the delicate vanilla notes
- 1 teaspoon baking soda: Essential for that soft pillowy texture we want
- 1/2 teaspoon salt: Balances the sweetness and makes all flavors pop
- 3/4 cup unsalted butter, softened: Room temperature is nonnegotiable for proper creaming
- 1 cup granulated sugar: Creates the crisp edges we love
- 1/2 cup brown sugar, packed: Adds moisture and that subtle caramel undertone
- 2 large eggs: Bind everything together while adding richness
- 1 tablespoon milk: Just enough to bring the dough together without being sticky
- 2 teaspoons vanilla extract: Pure extract makes a noticeable difference here
- 1 teaspoon white vinegar: The secret ingredient that activates the baking soda perfectly
- 1 tablespoon green food coloring: Gel coloring gives the most vibrant hue without thinning the dough
- 1 1/2 cups white chocolate chips: The creamy counterpart that makes these cookies absolutely irresistible
Instructions
- Getting everything ready:
- Preheat your oven to 350°F and line two baking sheets with parchment paper. This prep step makes everything else flow so smoothly.
- Whisking the dry team:
- In a medium bowl, combine the flour, cocoa powder, baking soda, and salt until well blended. Set this aside while you work on the wet ingredients.
- Creaming butter and sugars:
- Beat the softened butter with both sugars until the mixture turns light and fluffy. This usually takes about 3 minutes and creates the perfect texture foundation.
- Adding the wet ingredients:
- Add eggs one at a time, making sure each is fully incorporated before adding the next. Mix in the milk, vanilla, vinegar, and that gorgeous green food coloring until everything is uniformly colored.
- Bringing it all together:
- Gradually add the dry ingredients to the wet mixture, mixing just until combined. Overmixing here will make tough cookies, so stop as soon as you see no more dry flour.
- Folding in the white chocolate:
- Gently fold in the white chocolate chips by hand. This prevents overworking the dough while ensuring every cookie gets those creamy pockets of sweetness.
- Scooping and spacing:
- Drop tablespoon-sized balls of dough onto your prepared baking sheets, leaving about 2 inches between each. They'll spread as they bake, so give them room to breathe.
- Baking to perfection:
- Bake for 10 to 12 minutes until edges are set but centers still look slightly soft. This is exactly when you want to pull them out for that perfect chewy texture.
- The crucial cooling step:
- Let the cookies rest on the baking sheet for 5 minutes before moving them. They continue cooking slightly and firm up enough to transfer without breaking.
 Save
Save My daughter now requests these for her birthday instead of cake, claiming they're like eating little clouds of happiness. Watching her face light up when she sees that bright green dough mixing up has become one of my favorite kitchen moments. Some traditions start in the most unexpected ways.
Making The Color Pop
I've found that adding food coloring to the wet ingredients before mixing in the flour gives the most even distribution. The dough might look impossibly vibrant, almost electric, but it bakes into the most beautiful soft green color. Don't be afraid of bold color here.
Storage Secrets
These cookies actually improve after sitting in an airtight container overnight. The flavors meld together beautifully and the texture becomes even more fudgy. I've also frozen the dough balls successfully, baking them straight from frozen with just an extra minute or two.
Serving Suggestions
These are showstoppers on any dessert platter, especially around holidays. I've served them alongside hot cocoa during winter parties and they disappear immediately. The contrast between the vibrant green and white chocolate is impossible to resist.
- Try them with a cup of earl grey tea for an elegant afternoon treat
- Crumbled over vanilla ice cream creates an incredibly indulgent sundae
- Pack them in clear treat bags with green ribbon for effortless party favors
 Save
Save There's something so joyful about biting into a cookie that's both whimsical and genuinely delicious. Hope these bring some bright green happiness to your kitchen too.
Recipe FAQs
- → Why is vinegar added to the dough?
-
White vinegar reacts with baking soda to create the signature velvet texture, making these cookies exceptionally soft and chewy while helping the green color stay vibrant.
- → Can I use liquid food coloring instead of gel?
-
Gel food coloring is preferred as it provides a deeper color without adding excess liquid to the dough. Liquid coloring works but may require adjusting the flour slightly.
- → How should I store these cookies?
-
Store in an airtight container at room temperature for up to 5 days. Place parchment paper between layers to prevent sticking. They also freeze well for up to 3 months.
- → Why are the edges set but centers soft?
-
This is the perfect indicator for chewy cookies. The centers continue cooking slightly on the hot baking sheet during the 5-minute cooling time, achieving that ideal soft texture throughout.
- → Can I reduce the cocoa powder?
-
The cocoa provides subtle depth without making these taste like chocolate cookies. Reducing it to 1 teaspoon will yield a milder flavor, though it helps balance the sweetness and enhances the green color.
- → What makes these different from sugar cookies?
-
The combination of cocoa powder, vinegar, and brown sugar creates a more complex flavor profile and chewier texture than traditional sugar cookies, while the green coloring adds visual appeal.