 Save
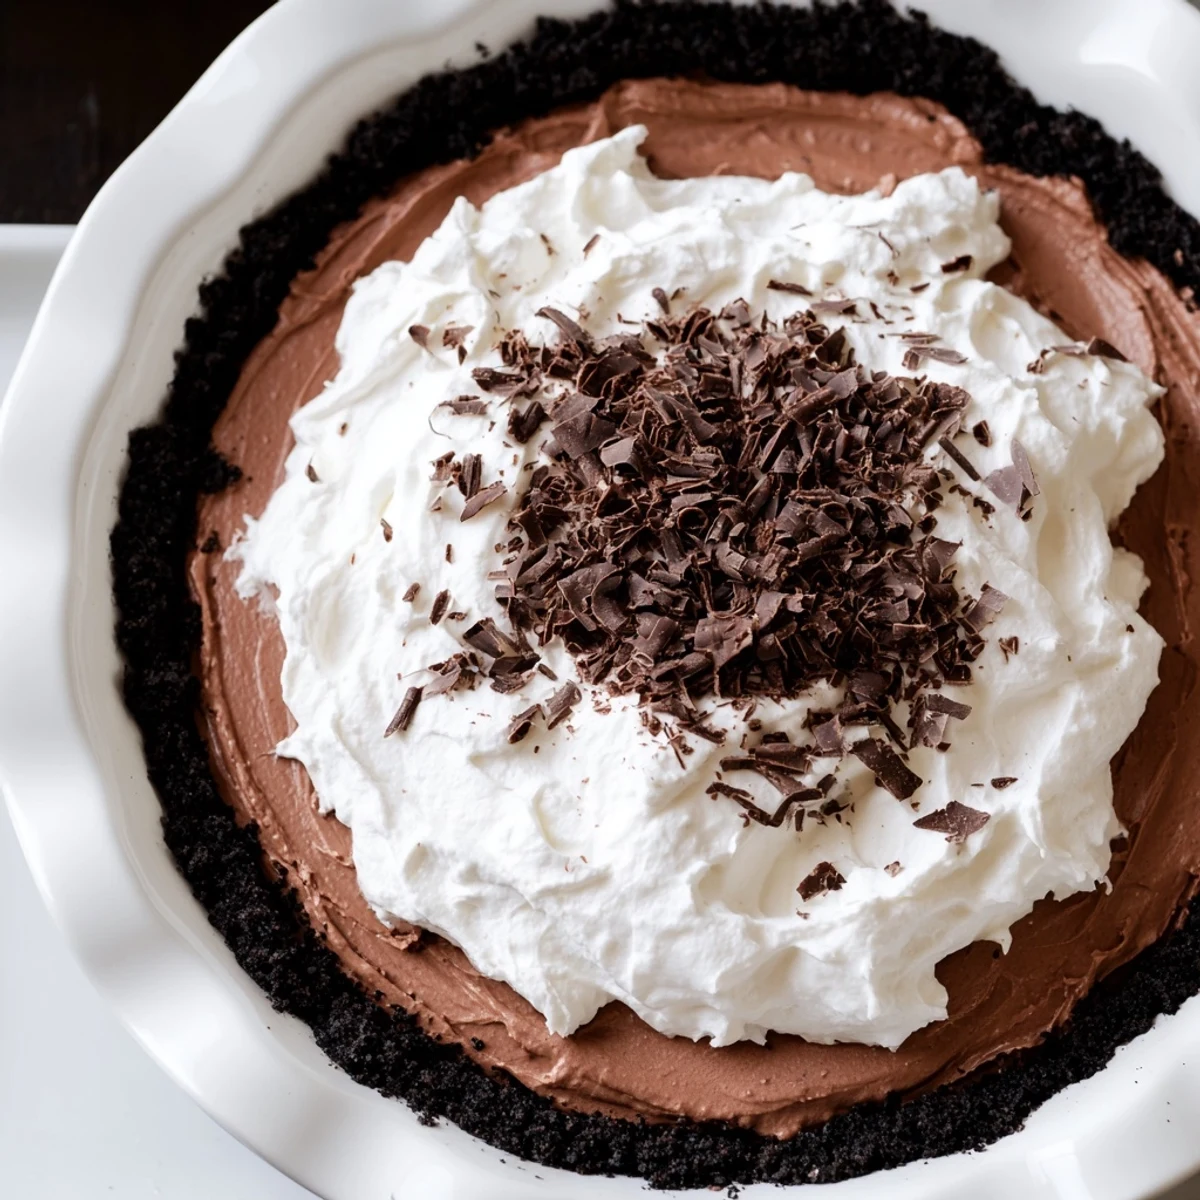
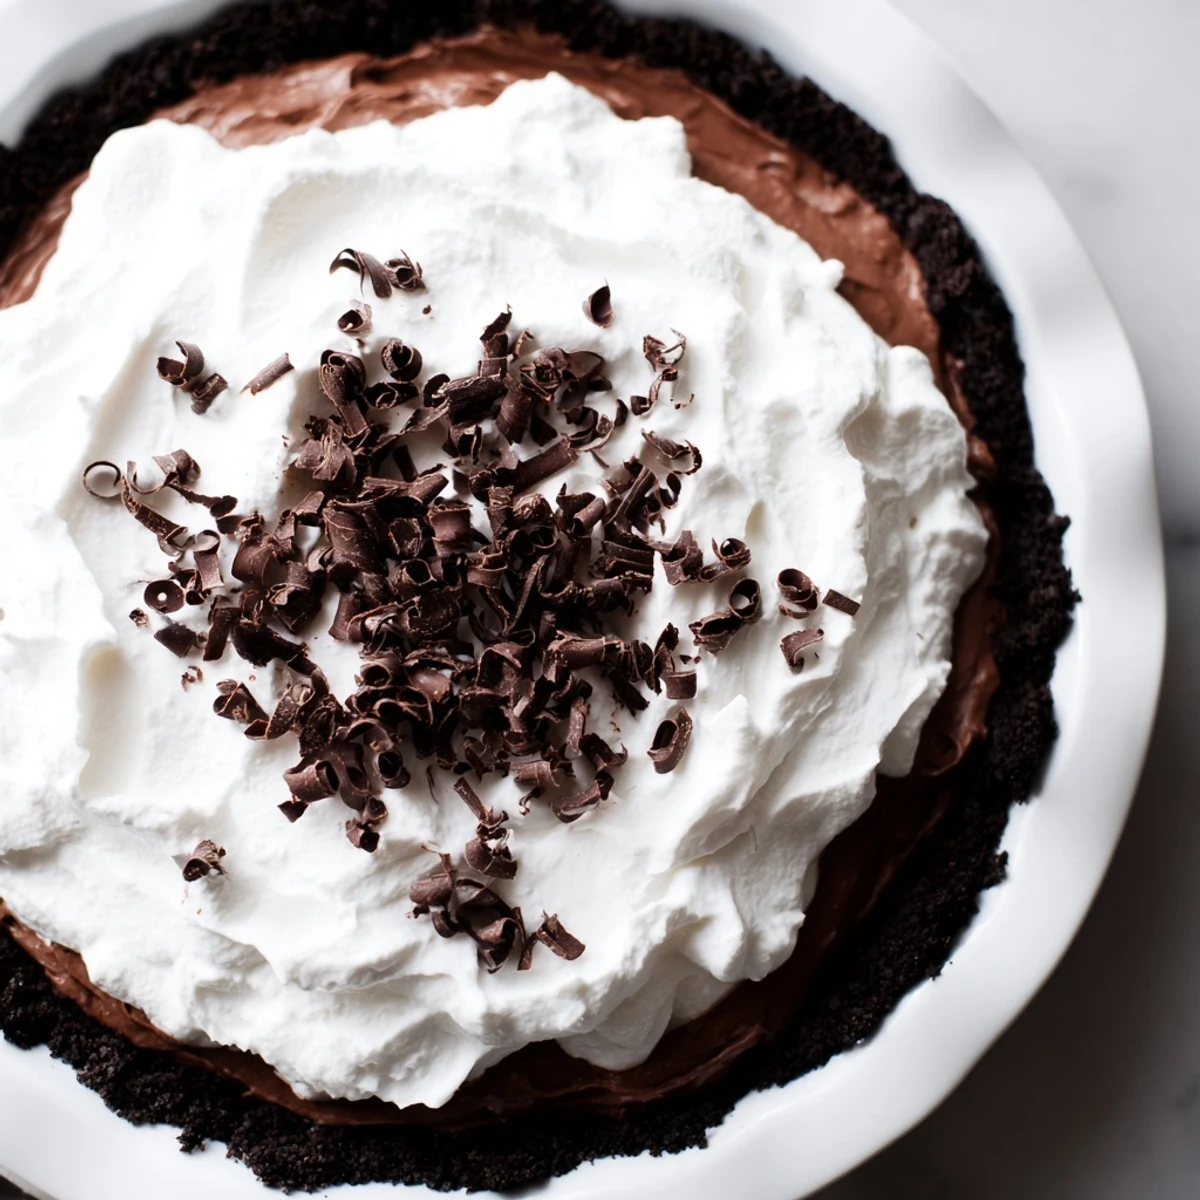
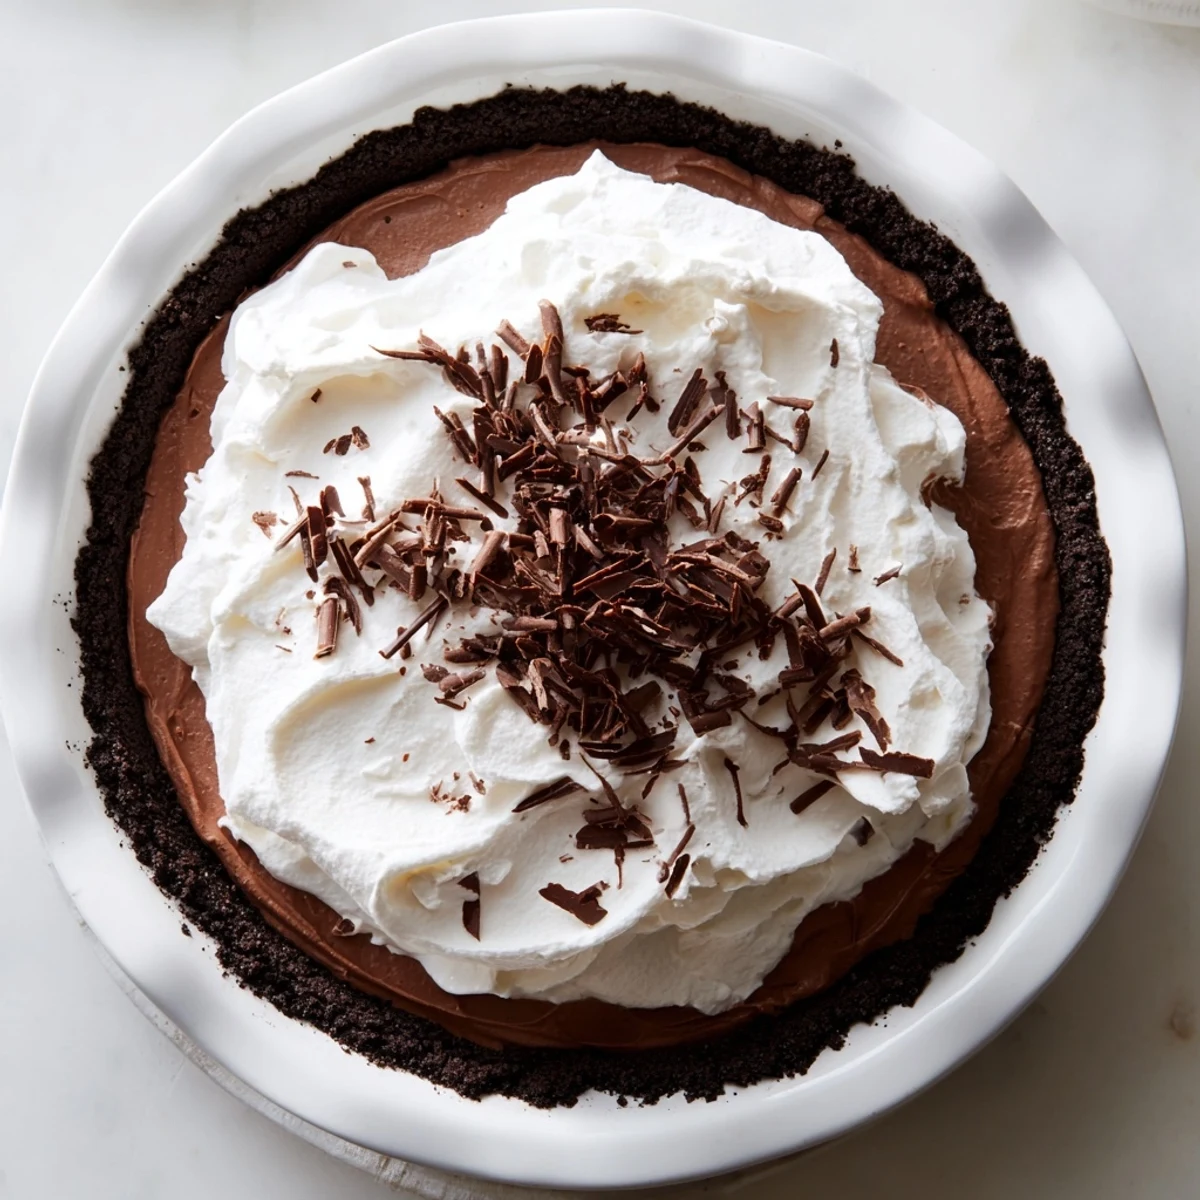
Save This luscious chocolate silk pie combines a crisp cookie crust with a smooth, bittersweet filling made from melted chocolate, butter, and eggs. After chilling to set, it's topped with softly whipped cream and optionally garnished with chocolate curls. The dessert strikes a perfect balance of creamy and crunchy textures with a rich chocolate flavor, ideal for special occasions or sharing with loved ones. Preparation includes baking the crust briefly, careful folding of ingredients, and chilling to achieve the silky consistency.
The moment I took my first bite of this silk pie, I understood why chocolate desserts make people speechless. It was our third date, and he'd surprised me with this glossy, towering creation that looked like something from a bakery window. That texture—impossibly smooth yet intense—stuck with me for months until I finally begged for the recipe. Now it's become my secret weapon for special occasions and quiet Tuesday evenings alike.
I made this for my sister's engagement dinner last spring, watching anxiously as she took that first bite. Her eyes went wide and she literally stopped the conversation to demand I teach her how to make it. The whole family ended up gathered around the counter, learning the beating technique together while champagne glasses clinked in the background. Now it's become our celebration tradition—birthdays, promotions, survived finals week, you name it.
Ingredients
- Chocolate sandwich cookies: The filling inside these cookies adds an extra layer of chocolate depth that plain chocolate wafers can't match
- Unsalted butter: Control your salt content and let that pure buttery richness shine through
- Bittersweet chocolate: Choose one you'd eat straight from the bar since it's the star of the show
- Pasteurized eggs: Essential for food safety since they're not cooked in this recipe
- Vanilla extract: Don't skip this—it bridges the gap between chocolate and butter
- Heavy whipping cream: Cold straight from the fridge makes all the difference in achieving those perfect peaks
Instructions
- Build the foundation:
- Pulse those cookies into oblivion until they resemble sandy soil, then pour in melted butter and watch them clump together. Press the mixture firmly into your pie dish like you're tamping down coffee grounds, paying extra attention to the corners where crusts love to crumble. Chill it while you clean up—that 20 minutes makes all the difference between a structurally sound pie and a crumbling disaster.
- Set the crust:
- A quick spin in the oven transforms that pressed crumb mixture from fragile to foundation-sturdy. Keep an eye on it—you want it set, not toasted. Let it cool completely before attempting any filling action, otherwise you'll end up with melty chocolate chaos.
- Melt the chocolate:
- Set up your double boiler like a chemistry experiment, keeping the water at a bare simmer to avoid seizing your chocolate. Stir until it's liquid velvet, then walk away and let it cool to room temperature. This patience test is crucial—hot chocolate will melt your butter and ruin the silky texture you're after.
- Whip up magic:
- Beat that butter and sugar until they're pale and fluffy, practically jumping out of the bowl. This aeration is what makes the filling light rather than dense. When you add the cooled chocolate, watch it transform into glossy perfection—that's your signal you're doing it right.
- Add volume and air:
- Here's where your arm gets a workout—beat each egg for a full 3 to 5 minutes on high speed. This step feels endless but trust the process. The mixture should nearly double in volume and turn into something that looks like chocolate mousse crossed with buttercream. That texture change is the secret to the silk filling.
- Chill into perfection:
- Spread that gorgeous glossy filling into your waiting crust, smoothing the top with an offset spatula or the back of a spoon. Now the hard part—walking away for at least 3 hours. The fridge time is non-negotiable for that sliceable, velvety consistency.
- Top with clouds:
- Whip cold cream with powdered sugar and vanilla until it holds soft peaks that droop elegantly when you lift the beaters. Pile it on generously, then add chocolate curls like you're decorating a fancy restaurant dessert. Those dark shavings against white cream make it look professionally gorgeous.
 Save
Save My roommate walked in while I was beating the eggs during that crucial step, looking horrified by how long it was taking. She thought I'd lost my mind until I handed her a slice the next day and watched her expression shift from skepticism to pure chocolate bliss. Now she requests it for every birthday and dinner party, quietly hovering in the kitchen to learn the technique herself.
Mastering the Texture
The difference between good chocolate silk pie and great chocolate silk pie comes down to temperature control at every stage. I've learned through crumbled disasters that rushing the cooling process results in grainy filling or weepy crust. Now I set a timer and actually let things cool properly—those extra 20 minutes prevent so much kitchen heartbreak later.
Making It Your Own
Once you've mastered the classic version, tiny twists keep this recipe exciting without losing its soul. A shot of espresso powder dissolved in the melted chocolate adds sophisticated depth that chocophiles go crazy for. Sometimes I fold in crushed peppermint candies during winter or add a swirl of salted caramel across the top before chilling.
Serving and Storing
This pie actually improves after a day in the fridge, giving the flavors time to meld and the texture to set into perfect sliceable silk. I like to take it out 15 minutes before serving—too cold and it loses some of that creamy mouthfeel, but too warm and it becomes soft and messy.
- Clean your knife between slices for picture-perfect wedges
- The crust stays crisp for 2 days but gradually softens after that
- It freezes beautifully for up to a month if you wrap it tightly
 Save
Save Every time I make this pie, I'm reminded that some desserts are worth every minute of careful preparation. There's something magical about serving something so impossibly smooth and rich, watching people's eyes close as they take that first bite.
Recipe FAQs
- → How is the cookie crust prepared?
-
Chocolate sandwich cookies are finely ground and mixed with melted butter, then pressed into a pie dish. The crust is baked briefly to set before cooling.
- → What gives the filling its silky texture?
-
The filling combines melted bittersweet chocolate with softened butter, sugar, eggs, and vanilla, beaten together until smooth and fluffy.
- → Can the filling be flavored differently?
-
Yes, adding espresso powder to the filling enhances the chocolate depth without overpowering its silkiness.
- → How is the whipped topping prepared?
-
Cold heavy cream is whipped together with powdered sugar and vanilla extract until soft peaks form, creating a light and creamy topping.
- → Are there gluten-free options for the crust?
-
Gluten-free cookies can be substituted for the crust to accommodate gluten sensitivities while maintaining texture.