 Save
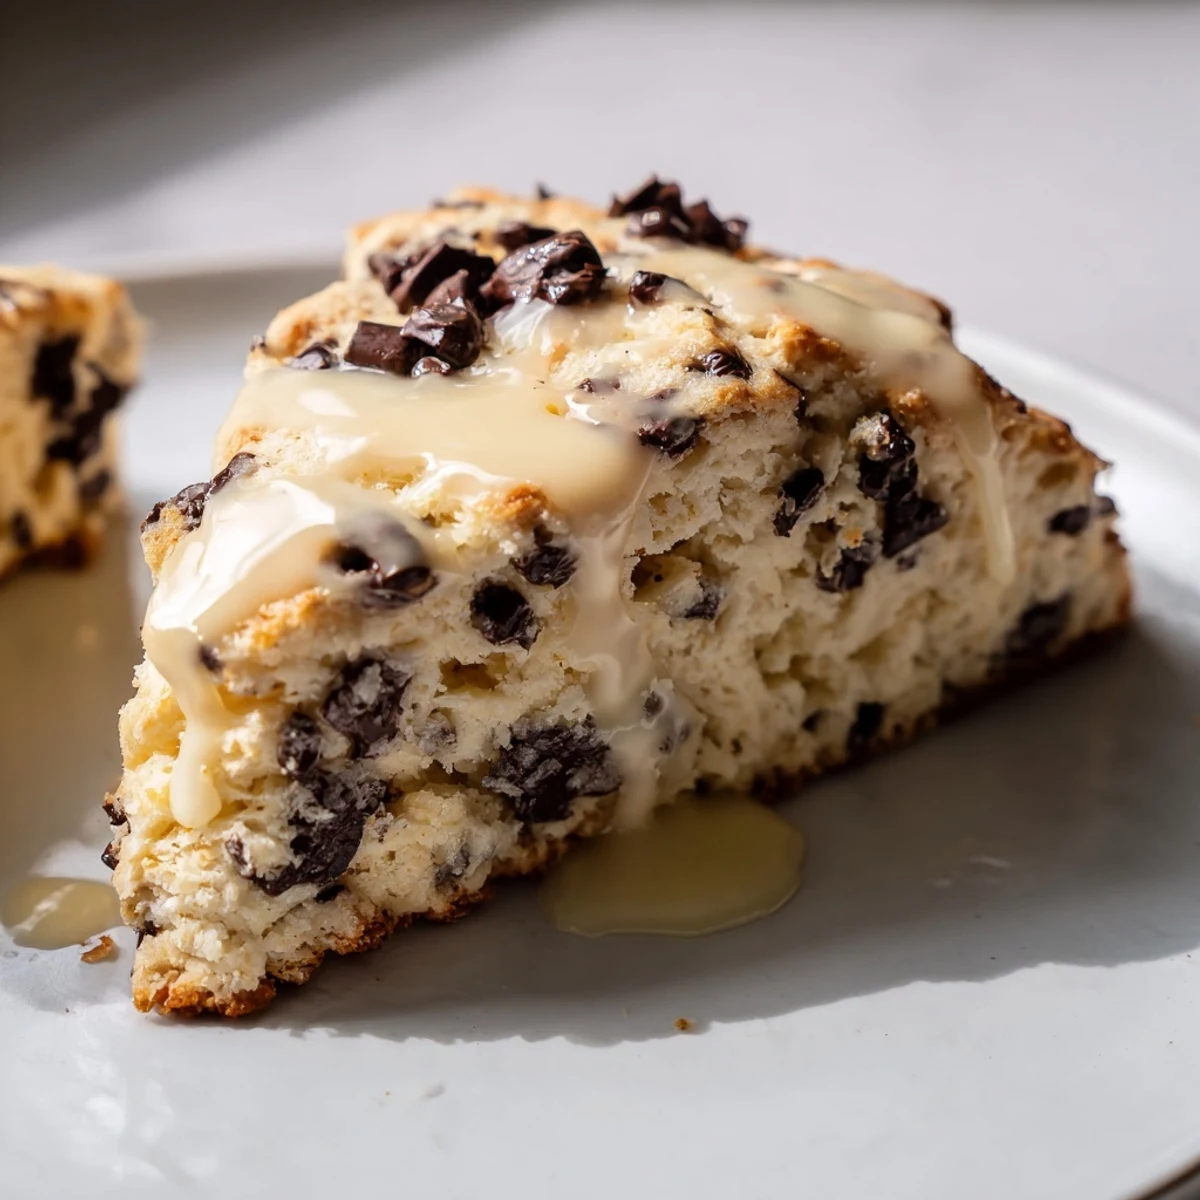
Save These tender, buttery scones are richly studded with semi-sweet chocolate chips and accented by a smooth vanilla glaze. Made with cold butter, buttermilk, and a hint of vanilla, the dough is mixed gently to ensure a light texture. After baking until golden brown, they’re finished with a sweet vanilla sugar glaze that adds a delicate shine and extra flavor. Ideal for breakfast or a comforting afternoon treat, these scones pair beautifully with coffee or tea.
My roommate Sophie stumbled into our apartment clutching a grease-stained paper bag, breathless with excitement about some bakery discovery. She pulled out a still-warm scone with chocolate glistening on top, and one bite changed everything about my Saturday morning routine. Now, whenever that buttery vanilla scent fills our kitchen, we both abandon whatever we are doing and migrate toward the oven like clockwork.
Last winter, during that brutal week when our heating died, I made a double batch just to warm up the kitchen. My neighbor texted asking if something was burning, then showed up at my door ten minutes later with two mugs and a hopeful expression. We ate them standing by the oven door, steam rising off every bite, while complaining about the landlord.
Ingredients
- 2 cups all-purpose flour: The foundation that gives structure without becoming tough when handled gently
- 1/3 cup granulated sugar: Just enough sweetness to balance the rich dark chocolate without making them dessert
- 2 tsp baking powder: This creates the lift that makes the difference between a hockey puck and something that melts in your mouth
- 1/2 tsp baking soda: Works with the buttermilk to create those beautiful tender crumb pockets
- 1/2 tsp fine sea salt: Dont skip this—it makes the chocolate sing and balances the sweetness
- 1/2 cup cold butter, cubed: Cold butter is nonnegotiable here for creating those flaky layers
- 1/2 cup cold buttermilk: The acidity tenderizes while creating the most tender texture imaginable
- 1 large egg: Binds everything together while adding richness
- 1 tsp pure vanilla extract: Use the real stuff—fake vanilla never quite disappears into baked goods the same way
- 3/4 cup semi-sweet chocolate chips: I fold them in gently so they distribute evenly without breaking the dough
- 1 cup powdered sugar: Sift first or you will hate yourself when the glaze clumps
- 2–3 tbsp milk: Start with two tablespoons and add more until you reach that perfect drizzling consistency
- 1/2 tsp pure vanilla extract: The finishing touch that makes the glaze taste like something from a professional bakery
Instructions
- Get your station ready:
- Preheat that oven to 400°F and line your baking sheet with parchment paper now so you are not scrambling later
- Whisk the dry foundation:
- In a large bowl, combine flour, sugar, baking powder, baking soda, and salt until everything is evenly distributed
- Cut in the cold butter:
- Work those butter cubes into the flour with your fingertips or pastry cutter until you see coarse crumbs with some pea-sized pieces remaining
- Combine the wet mixture:
- Whisk together buttermilk, egg, and vanilla in a small bowl until blended
- Bring it all together:
- Pour the wet ingredients into the dry mixture and fold gently until just combined—some flour streaks are totally fine
- Add the chocolate:
- Fold in the chocolate chips carefully, being careful not to overwork the dough
- Shape and portion:
- Turn dough onto a lightly floured surface, pat into a 1-inch thick circle, and cut into 8 wedges like a pizza
- Bake until golden:
- Arrange wedges on your prepared sheet with space between them and bake for 16 to 18 minutes until deeply golden
- Make the magic glaze:
- While scones cool, whisk powdered sugar with milk and vanilla until smooth and pourable
- Finish with flair:
- Drizzle that glaze generously over the cooled scones and let it set for about 10 minutes before serving
 Save
Save My mom called while I was halfway through glazing a batch, and I could hear her pause mid-sentence through the phone. She asked what smelled so good, and by the time I finished describing the recipe, she had already pulled out her own mixing bowl. Now we make them simultaneously on Sundays, texting photos of our glaze patterns like proud parents.
Getting The Texture Right
The secret is stopping when the dough still looks shaggy and slightly undermixed. I learned this the hard way after making hockey puck scones for a month because I kept trying to make the surface smooth. Those visible butter bits and flour patches are exactly what creates tender layers in the oven.
Customizing The Flavor
Sometimes I add orange zest to the dough when I want something brighter, or swap dark chocolate chips for a more sophisticated version. A pinch of cinnamon in the dry ingredients makes these taste like a cozy bakery treat, while white chocolate chips transform them into something entirely different.
Storage And Serving
These are honestly best the day they are made, preferably still slightly warm with that glaze barely set. If you need to store them, wrap individually in plastic and they will keep for two days—though they rarely last that long in my apartment.
- Refresh day-old scones in a 350°F oven for 5 minutes
- The glaze softens over time, so add a fresh drizzle before serving
- Freeze unbaked scones on a tray, then transfer to a bag for fresh baked treats anytime
 Save
Save There is something deeply satisfying about pulling a tray of these from the oven, watching the steam rise off the golden tops. Even on the most chaotic mornings, that first bite makes everything feel a little more manageable.
Recipe FAQs
- → How do I achieve tender scones?
-
Use cold cubed butter and handle the dough minimally to keep it flaky and tender. Mixing just until combined helps prevent toughness.
- → Can I substitute the chocolate chips?
-
Yes, you can replace semi-sweet chips with dark or white chocolate, depending on your taste preference.
- → What is the purpose of buttermilk in the dough?
-
Buttermilk adds tangy flavor and reacts with baking soda to help the scones rise while keeping them moist.
- → How should the vanilla glaze be applied?
-
Whisk powdered sugar, milk, and vanilla until smooth, then drizzle the glaze over cooled scones for a sweet finishing touch.
- → Can I prepare the dough ahead of time?
-
Yes, you can refrigerate the dough for up to 24 hours before baking to enhance flavor and convenience.